Introduction
Backpacking equipment is generally the same whether a trip is for 3 or 30 days. Longer trips require more food and fuel, more injury prevention, and more attention to logistics. This article focuses on logistics; it describes how to plan and navigate backpacking adventures on local trails and off-trail in remote wilderness.
Navigation
The basic navigation tools are map, compass, GPS, and most recently, smartphones.
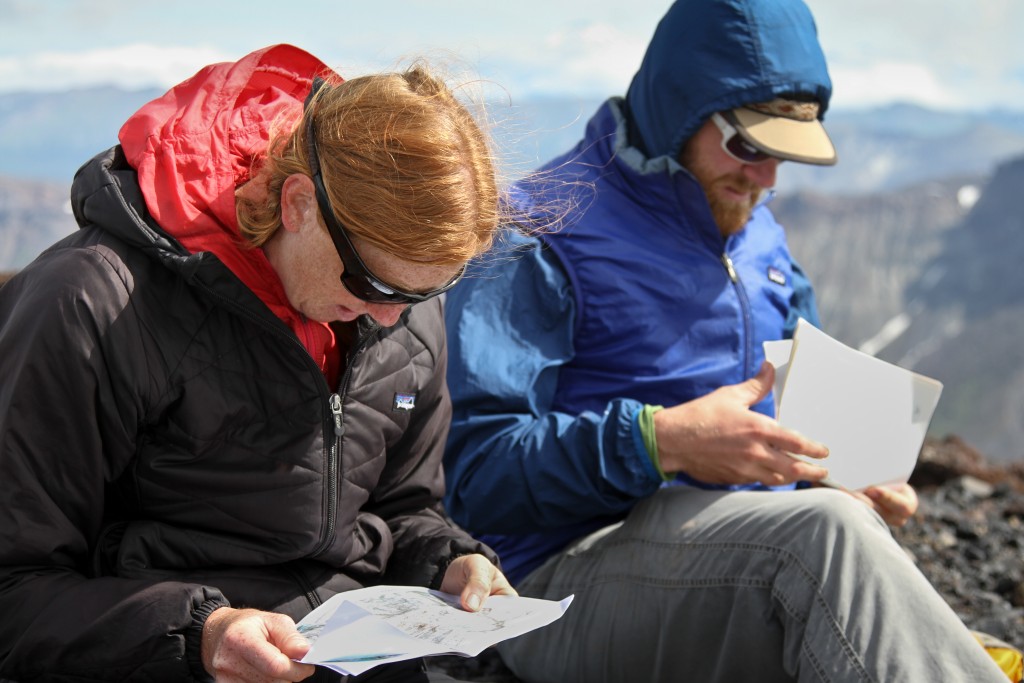
Map. A small-scale map is useful for steep terrain and a large-scale map is nice for identifying distant features. National Geographic's Trails Illustrated series are excellent for popular destinations or you can purchase and print USGS topographic quadrants from alltrails.com, and Trails.com. If you're on a budget, you can probably get away with printing screen captures from sites like hillmap.com and Gmap4.
Compass. A compass is useful in low visibility conditions and when topographical features are subtle, such as in flat areas or among gentle hills.
GPS. If you lose visibility a compass won't help you figure out where you are. For this reason I strongly recommend carrying a GPS (Global Positioning System) unit. If you don't already have a GPS, refer to OutdoorGearLab's GPS watch review. You definitely want to purchase a topographic basemap, so include that cost when you are pricing units.
Smartphone. Advances in smartphone technology are expected to make handheld GPS units obsolete. The GPS chip in smartphones does not require cellular coverage, so the phone works as a GPS regardless of location. In cellular range, or with a satellite connection through DeLorme's InReach, the smartphone is poised to be the ultimate all-in-one navigation and logistics tool. The planning process discussed below can be used to load a route onto your smartphone rather than a GPS. Apps like Gaia GPS allow you to import/export routes and view your location with various baselayers (topo maps, satellite imagery, etc.). The disadvantages are limited battery life, especially in the cold, and a less-rugged build. A case with built-in battery will help, but for a long trip, a small portable solar charger and/or separate battery bank are necessary. See our favorite solar power banks in our dedicated review.
GPS basics
I use a GPS both as a safety measure and as a trip log. The ability to record locations, either ahead of time or on the trail, and view those locations on a topographic basemap is extremely useful for staying on route— especially in low visibility conditions. I tag waypoints that can help guide me back if I lose visibility: the car at the trailhead and any points of interest like cabins, forks in the trail, fresh water, summits, etc. It is always rewarding to see those points on a map back at home. I discuss mapping software and GPS more below.
For a long or complicated trip, I find it very helpful to have my intended route preloaded in the GPS. I strongly prefer having a track rather than a collection of waypoints because it makes navigation much simpler and the process of creating the track makes me more familiar with the landscape and better prepared for the trip.
Having my intended route on a GPS makes navigation very straightforward. During the trip I use the GPS to check if we are on track, to read elevation off the basemap, and to confirm the topography. I use the GPS to return to my intended route if I accidentally stray from it, and if I intentionally venture off route, I mark waypoints so that I can backtrack if I lose visibility. I typically have the GPS on for one minute at a time, which has allowed me to go over a year on the same set of batteries. In white-out conditions the lead person usually takes a bearing and monitors our direction with a compass, but that's about the limit of our non-GPS navigation. We pull out maps now and then too, but it is more of an excuse to take a break together, pour over the map to identify distant peaks and distances, and to dream up future destinations. This technique has been reliable largely because I put a lot of effort into doing my homework first: researching and planning the route.
Trip Planning
Identify what you want to see. Between friends, guidebooks, and online trip reports, identify a destination that has features you are excited about… a specific mountain, ridge tops, fishing ponds, public cabins, etc. In addition to looking at guidebook photos, I search online for images in the area that may inspire me.
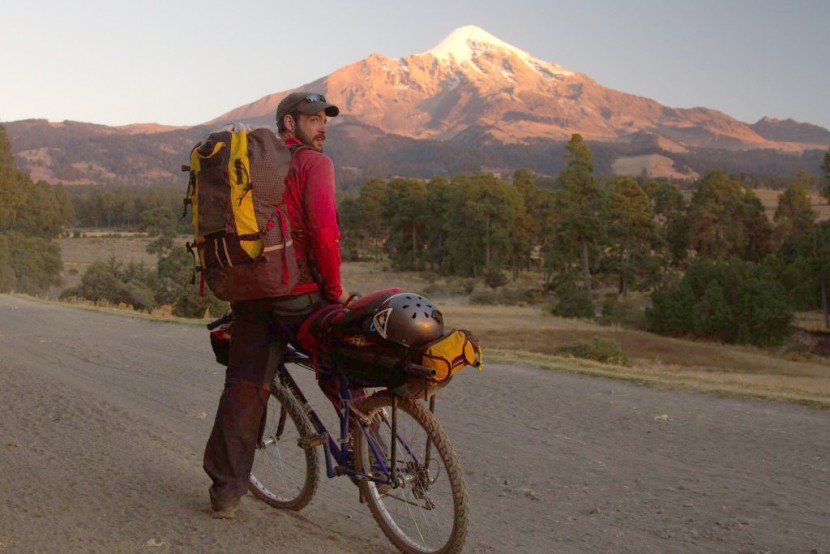
The easiest trips to plan are 'out and backs,' starting and returning to the same trailhead. But if your motivation is to see as much of the landscape as possible, loops or through-hikes are preferable. The logistics of working around a single car at a trailhead can be complicated, so I use a style of 'logistics by convenience' to create interesting routes at low cost. Techniques include: swap keys with someone travelling the opposite direction, use public transportation to get back to your car, and leave bikes at the far end of the hike, etc. Social media can make coordination easier than ever; a Facebook post connected me with a neighbor's dad's girlfriend in Mexico who helped us find bikes for a bike/raft traverse over that country's tallest mountain.
The National Parks are perfect candidates if you want to create your own through-hike. Identify where it might be convenient to start and finish, plot a route on the various trails that connect those points, and transfer tracks to the GPS. See Trip Planning Tools below for more on GPS software.
Off-trail Planning
Planning beyond an established trail system offers the opportunity to sculpt a unique passage through a landscape. Off-trial trips are a personal and creative experience that I deeply enjoy. However, off-trail travel requires more foresight and different planning tools that on trail trips.
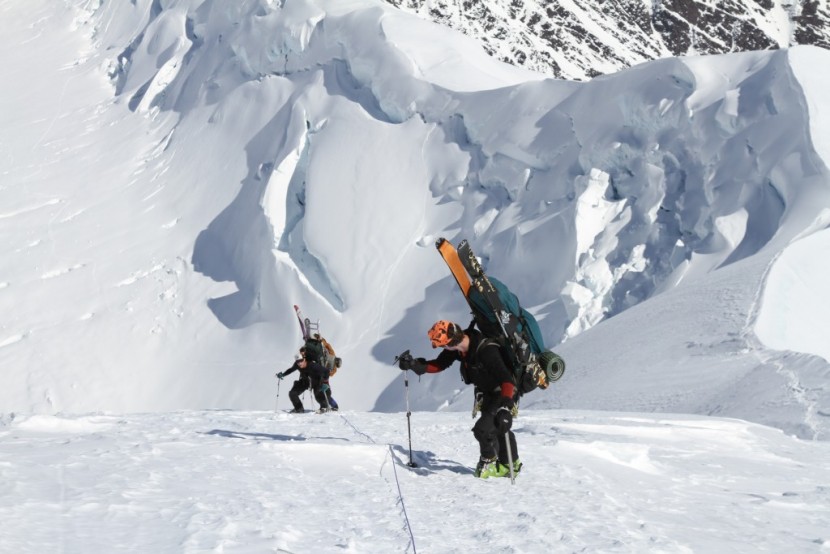
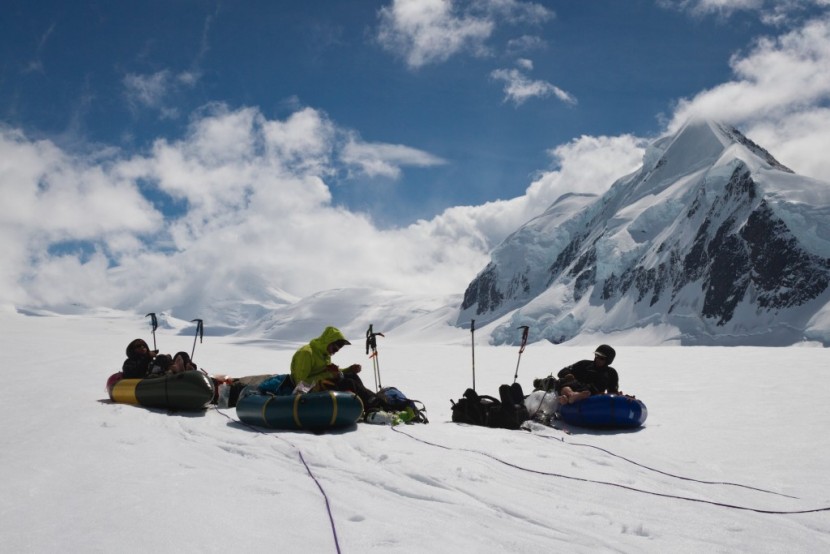
Ironically, the internet is the best tool to find ways to avoid the internet; I spend a lot of time online collecting information about the area of interest, contacting friends, blog authors, photographers, pilots, etc. An example of a complicated off-trail trip is the 200 mile, 25 day road-to-road bike/ski/raft traverse of Denali that friends and I completed in 2011. Rather than fly to a basecamp and climb the mountain as an 'out and back', we did the climb as a 'logistics by convenience' traverse. We biked from the park entrance until the snow was too deep, switched to skis, skied up and over Denali, dug packrafts out of the snow where a friend had buried them, and floated rivers to the town of Talkeetna.
Trip Planning Tools
Below I describe several trip-planning tools and go step-by-step through my trip planning process in Google Earth, the powerhouse for off-trail planning.
Photography
I find a lot of useful information through google image searches. I use imagery to get a sense of the landscape, to identify places I want to see, and to evaluate potentially challenging terrain.
Online Resources
Several websites provide trip planning resources; tools and functionality are improving rapidly. Free websites include Gmap4, TopoFusion (Windows only), and Hillmap. Hillmap is the most polished site, which allows you to compare imagery on a split-screen (for example, satellite and topographic baselayers), draw points and routes, and import/export to GPS or Google Earth (as .gpx files). There are several useful overlays (though they aren't very reliable yet), such as 'Custom Slope Analysis,' useful for flagging slopes that might be prone to avalanches, or 'NOAA Weather Radar,' as a last minute check before you head out the door.
Subscription sites like Trails.com and Alltrails.com are powerful sites designed for planning and printing maps. Alltrails is probably the best online resource for printing maps. The $50 per year Pro version has mostly replaced National Geographic's Topo! software and allows you to create and save routes (more easily than hillmap.com), and gives you unlimited access to National Geographic Topo and Trails Illustrated maps. None of these sites have the 3D viewing capabilities of Google Earth.
Garmin BaseCampBaseCamp is by far the easiest way to interface with Garmin GPS units. If you own a Garmin GPS and purchase a Garmin Topo Series basemap ($100 - $130, 24k scale for trail information), BaseCamp makes drawing routes and transferring files between computer and GPS a breeze. There are several limitations (restricted basemap options, an outdated user interface, and only compatible with Garmin-brand units), but if you are looking for an all-in-one trip-planning tool, BaseCamp is it.
Planning on-trail trips with the Garmin 24k topo map is very simple, the drawing tool even snaps lines to existing trails. For an additional $30 per year you can toggle between topo maps and Garmin's BirdsEye aerial imagery. Garmin has a series of video tutorials to guide you through the software.
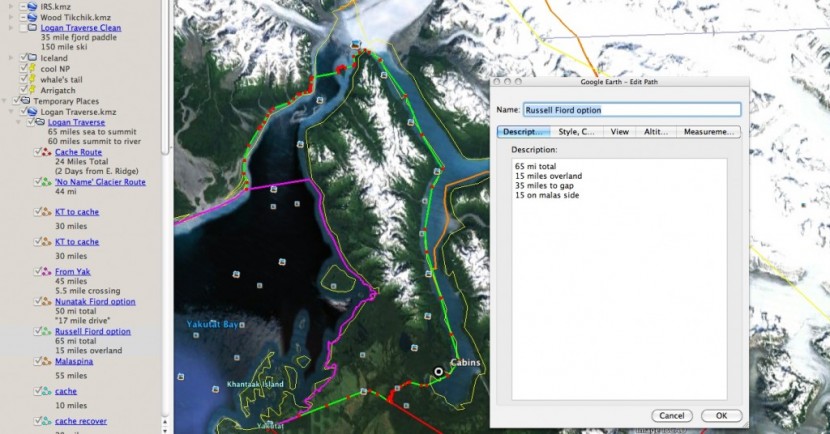
Google EarthGoogle Earth is my preferred tool for trip planning. It allows you to gather and analyze more information than BaseCamp, the user interface is intuitive, and the features comprehensive. The detailed satellite imagery is incredibly useful because it is three-dimensional—the perspective can be moved to any elevation or location—and because you can display imagery from previous years or seasons, which shows how conditions have changed over time. There is a catch… you need additional software to export routes and waypoints to your GPS.
My route planning and export workflow is as follows:
- Download Google Earth.
- Most regions have digitized topographic maps available for Google Earth. USGS topo maps are available via http://www.earthpoint.us/TopoMap.aspx. You might find higher resolution layers in your region with internet searches. Download the Earthpoint .kmz file, open it in Google Earth, and move the contents from 'Temporary Places' to 'My Places' so that it will be available when you restart the program. If a topographic basemap is not available, I'd use Garmin's BaseCamp and BirdsEye imagery for this part of the planning process.
- Create a project folder in 'My Places.'
- Toggle between the topographic layer and satellite imagery to identify points of interest: nearby cities, airstrips, cabins, etc., and mark them with labelled waypoints.
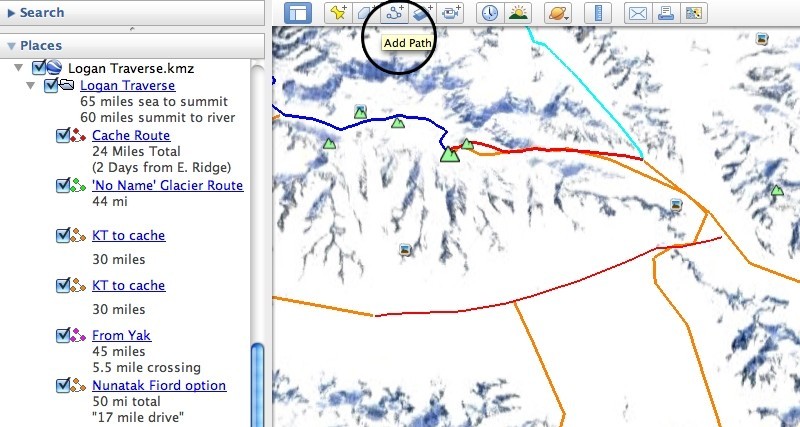
- Collect trail segments by tracing existing trails with the 'Add Path' tool.
- Trace or identify other segments of easy travel. Depending on the resolution, I'll trace game trails, logging roads, ridge lines, gravel bars or any other features that look like good or interesting travel.
- Some regions have imagery from different seasons, which can be useful to get a sense for snow coverage, vegetation, etc. Select 'Historical Imagery' from 'View' to select different dates. This has been particularly useful for managing crevasse fields on glaciers.
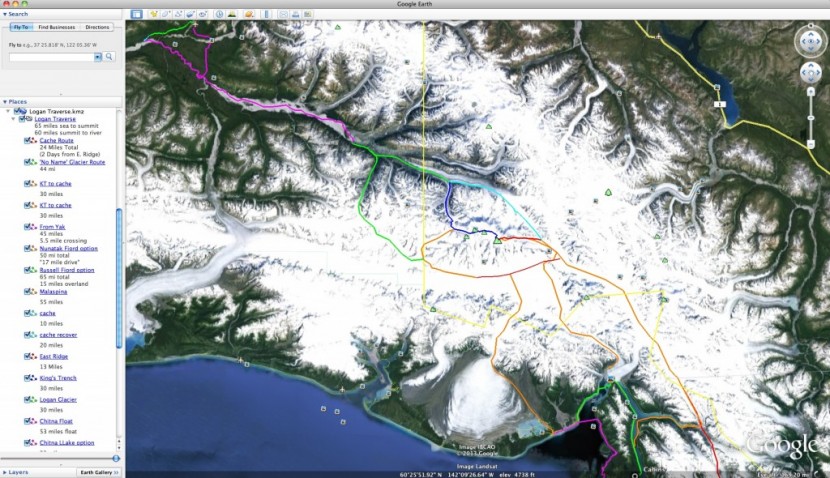
- The Google Earth project folder gets saved and passed between everyone on the trip. We take turns making changes, suggestions, etc., until we've agreed on an intended route.
At this point the project folder is a mess of trail segments. See the photo below.
It is useful to have all those route options, but I usually want a cleaner route to load onto the GPS, so I create a new 'clean' project folder. Line segments and waypoints can be copied and pasted into the 'clean' folder, or you can duplicate the original folder and remove segments. I recommend including optional routes through tricky areas, as well as relevant points of interest and rescue options (e.g., airstrips).
The 'clean' folder gets exported to the GPS unit. The easiest way to transfer the folder is with Garmin's Basecamp. Save the folder as a .kmz or .kml, open it in Basecamp, right-click the 'list' and select 'Send to your device.' Be sure to select the 'tracks' box.
If you need to do complex manipulation of spatial data, or have a non-Garmin GPS, I recommend GPSBabel. I export my Google Earth folder as a .kml, and use GPSBabel to transfer the .kml ('Input' -> File -> 'Google Earth (Keyhole) Markup Language') to my GPS ('Output' -> Device). GPSBabel can convert between .gpx, .gdb, .kml, or nearly any other spatial file format, which can be useful if you are incorporating other GPS tracks or use some of the online resources like hillmap.com.
Putting it all together
Sadly, there is no Holy Grail for trip-planning or navigation; I am likely to use every one of these tools at some stage of my planning, and compass, map, and GPS during the trip. But I am certain that putting so much effort into the planning leaves me better prepared for the trip, even for a local out-and-back. Familiarity with the terrain allows you to identify spurs that might be fun to explore, places you might need to deviate off course, or clever ways to get back to the road system. I hope this guide helps you design, experience, and share creative paths through the landscape.
See our reviews of the top-rated backpacking backpacks, backpacking tents, and ultralight tents.

