Do You Need a Dropper Seatpost?
If you've ever watched a downhill race or gone downhilling yourself, you've probably noticed how low everyone's seats are. Having a low seat isn't just about looking cool, in fact, there's a really good reason to have your seat low while riding downhill. dropping your seat for descents gets it out of the way, giving you more space to move your body freely and manipulate the bike beneath you. A low and out-of-the-way saddle lets you get your body and bike into the perfect position for tackling the terrain in front of you.
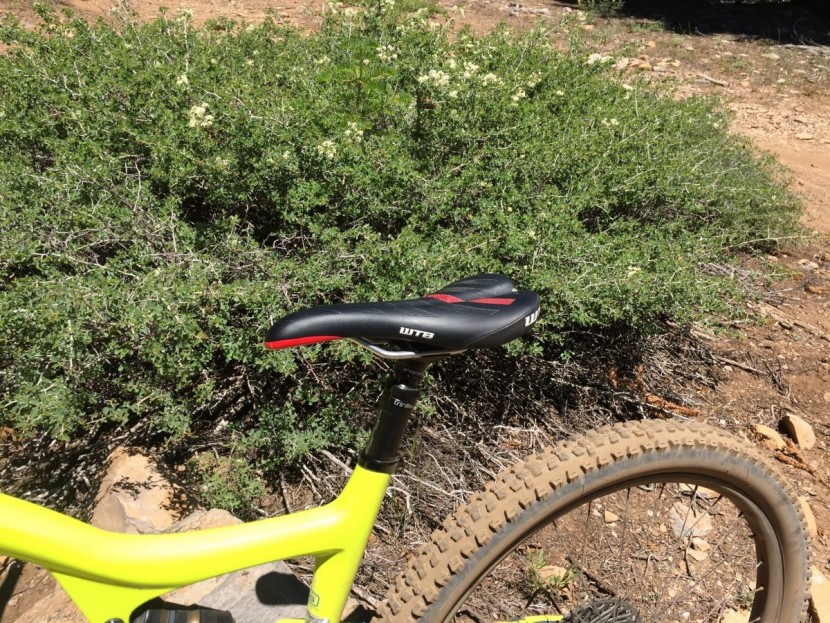
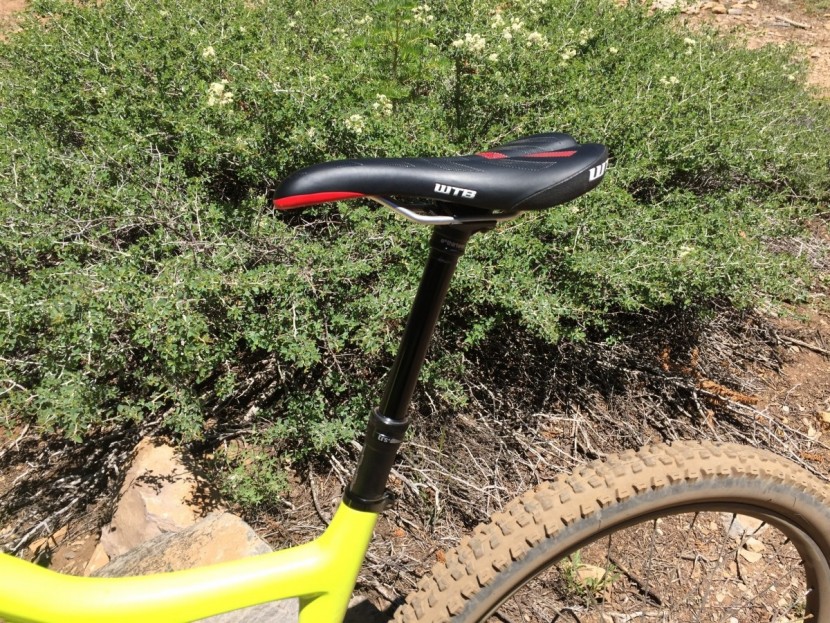
Lowering and raising your saddle used to be far less convenient than it is today. Many people used to stop at the top of extended downhill sections and lower their seat a few inches, only to stop again at the bottom of that downhill section and raise their seats back up to the proper height for pedaling. These days, dropper seatposts allow us to do the same on the fly with the push of our thumb, without stopping. Now we can always have our seat at the proper height for the changing terrain in front of us.
Many people consider dropper seatposts one of the most game-changing innovations in the mountain bike industry. Their proliferation has drastically changed the way we ride for the better. A dropper post can dramatically improve the way you ride while also making it easier and more fun. There are a number of things to consider when shopping for a dropper post and we outline them below.
Product Considerations
Types of Dropper Seatposts
Infinitely Adjustable
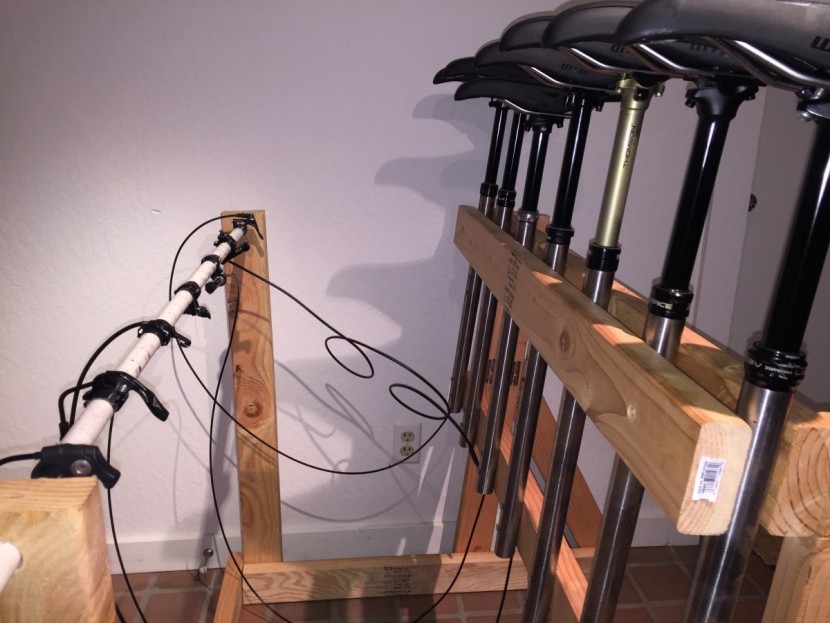
Infinitely adjustable dropper posts allow riders to adjust the height of the post anywhere within its travel range. Most dropper posts we test are infinitely adjustable, allowing you to stop all the way up, down, or anywhere in between.
Multi-Position Dropper Posts
Multi-Position dropper seat posts are becoming less common, but there are still several versions on the market. These posts feature several preset positions, fully extended, fully compressed, and a couple in between. While they don't offer the range of adjustment that an infinitely adjustable post does, the positions are adequate to improve your mountain bike experience nonetheless.
Seat Tube Diameter
One of the most important and easiest measurements to find when selecting a dropper post is the seat tube diameter. Most models are offered in the most common seat tube diameters of 30.9mm and 31.6mm. A few are also offered with a 34.9mm diameter. It is of the utmost importance to purchase a model in the diameter that matches your frame's seat tube. This is easily measured, or you can find it by searching your bike's model and specs online.
Fit
If you're unsure about sizing we recommend patronizing your local bike shop, where they can get you fitted with a seatpost that will work for your bike. You can, of course, figure it out on your own. There are several measurements that you'll need to take to determine what can fit on your bike.
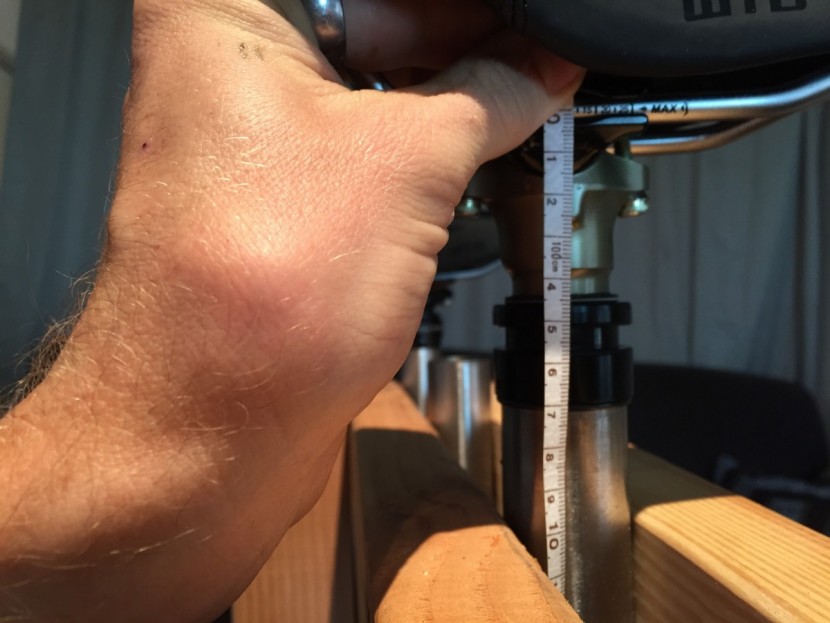
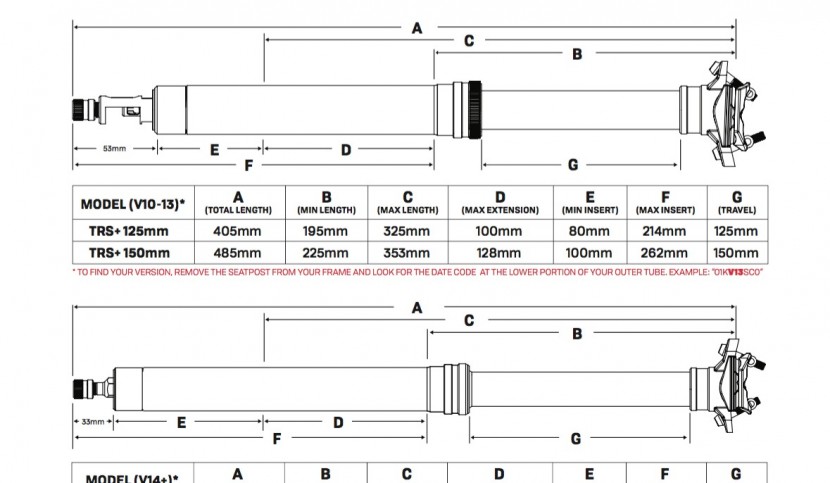
The first measurement is your ideal saddle height when pedaling. This measurement should be from the middle of the saddle rails to the top of the seatpost collar on your seat tube. This measurement is known as the ride height, and the dropper you choose cannot have a ride height that exceeds it. Each dropper post will have its own ride height, stack height plus travel length, or minimum length of post that must be outside of the frame when fully extended.
The next measurement you need is the usable length of your seat tube or maximum insertion length. You can measure this by pushing a non-adjustable seatpost as far into your seat tube as it will go. Mark the spot on the seatpost at the top of the seat tube collar, pull the seatpost out, then measure from the bottom of the seatpost to the mark. This measurement is the maximum insertion length for your seat tube.
If you add the ride height and the maximum insertion length together, you can determine the maximum overall length of a seatpost that will fit on your bike. You'll want to buy a post that is slightly shorter than this maximum overall length and insertion length to give yourself a little room to work with.
Once you know the overall length that will work on your bike, you can determine the length of travel that will work for you by working within the maximum insertion length and maximum stack height measurements that you have. Posts with shorter stack heights will allow you to run longer travel lengths before running out of room. The further you can drop your saddle, the more room you have to make dynamic movements on the bike, so the stack height number is important if your fit sits on the line between travel lengths. Dropper seatpost manufacturers provide all of the various length measurements on their respective websites to help determine the fit of their posts.
Travel Length
Dropper posts come in various lengths, depending on the manufacturer, they are usually 100mm, 125mm, 150mm, and now up to 175mm and even a whopping 200mm. This length measures the amount of travel between the bottom of the saddle clamp and the top of the seatpost collar. Our testers generally want the most travel we can fit on our bikes, but this may vary based on user preference, height, and frame size. Bear in mind that the more travel a dropper post has, the longer the overall length of the post will be as well.
Hydraulic vs. Cable vs. Wireless
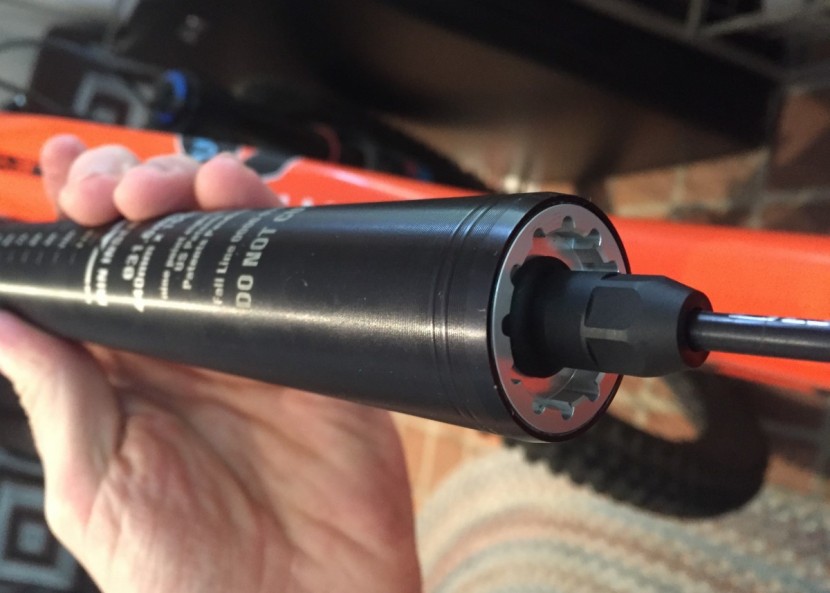
Some models are actuated hydraulically, with hydraulic fluid that runs from the remote to the bottom of the seatpost. Only a few models on the market are actuated wirelessly. Wireless technology is relatively new to the dropper post market and while it is currently very expensive, it has distinct advantages in ease of installation and remote actuation. The majority of contenders we tested are cable-actuated. Cable-actuated models use a standard derailleur cable that runs through cable housing between the remote and the bottom of the post. Cable actuated posts vary in difficulty to install, but most are easier to deal with than the hydraulically activated system. Standard derailleur cable and housing is also inexpensive and easy to replace, and a damaged cable can often be repaired in the field in a pinch.
Routing
Dropper seatposts are available with two different routing options, internal or external. The majority are internally routed, which is becoming the norm for dropper posts on modern frames. Newer frames feature portholes for running the cable and housing internally from the remote on the handlebars to an attachment at the bottom of the post. Internal routing limits the number of cables attached to outside of the frame for a cleaner appearance. Running housing through the frame is generally the biggest challenge associated with installing internally routed dropper seatposts.
Externally routed dropper posts are available for older frames or those without portholes for internal routing. The cable and housing of externally routed dropper posts runs on the outside of the bike frame and attaches to the seatpost somewhere above the seatpost clamp.
Conclusion
We hope the information above is helpful when it comes to deciding what size and style dropper you need. For a detailed analysis of the dropper posts we tested, read our full dropper post review.


