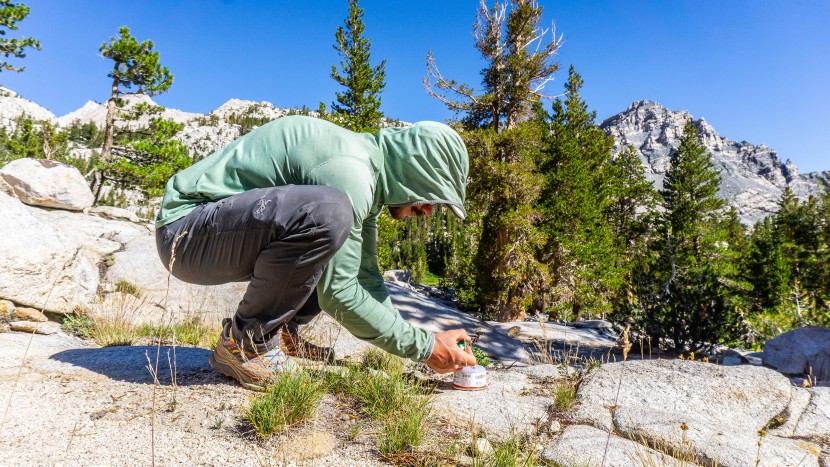
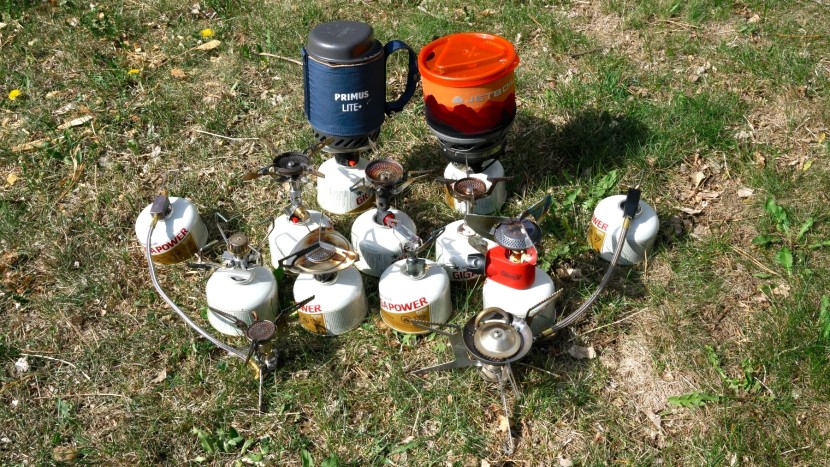
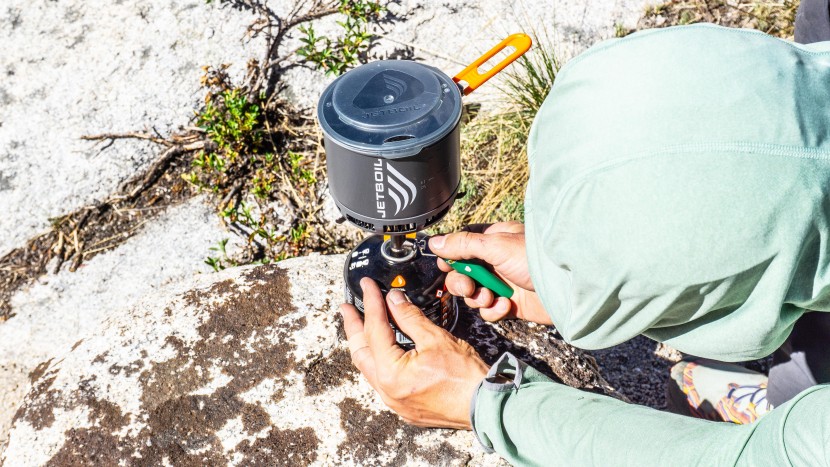
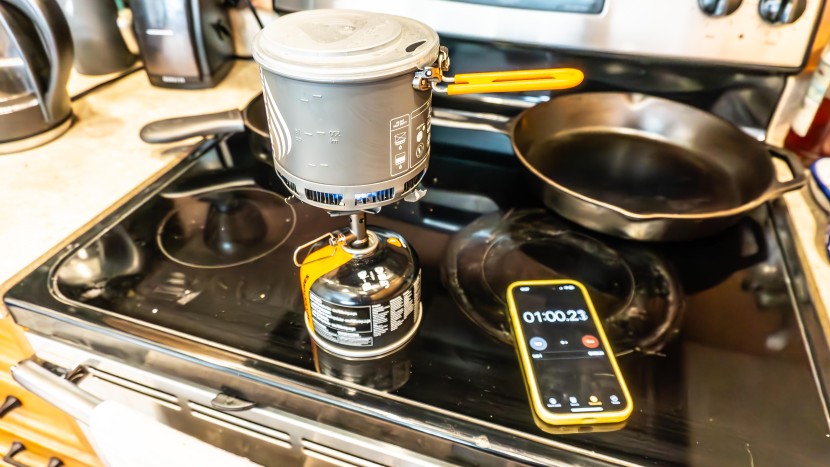
We've been testing backpacking stoves for years, from summer camping trips in the High Sierra to wintry climbing expeditions in the Alaska Range. Our diverse review team includes professional mountain guides, outdoor educators, environmental workers, and gear mechanics, all of whom are experts in the world of backpacking stoves. Our testing process is comprehensive and rigorous, ensuring no stone is left unturned. Continue reading to learn more about how we make our stove tests as exhaustive as possible.
Manufacturers of backpacking stoves test and advertise their products in very different ways, making it hard to accurately compare one stove to another. These discrepancies can make it challenging to make an informed purchasing decision, but rest easy knowing that we've put every model through the same examination process, ultimately forming a comparative analysis.
Fuel Efficiency
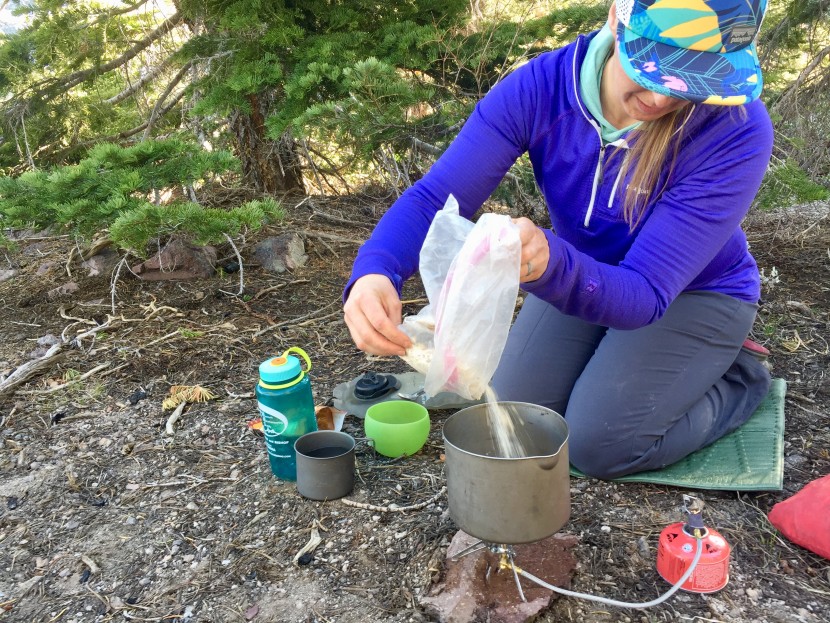
We tested fuel efficiency by simply weighing a fuel can before and after boiling a pot of water. We carried this out multiple times to create an average “fuel per boil” score. We used the same fuel brands and conducted each round of testing at the same elevation and ambient air temperature. Our testing team also spent weeks in the field, taking detailed notes along the way about the fuel efficiency of each option. Commonly, these notes included specifics about when cans of fuel would run out after similar numbers of meals were cooked.
Readers should note that manufacturers' specifications can differ significantly from ours. This could be because their lab is at a different altitude, has a different ambient air temperature, the starting water temperature is different, the cookware used is a different size/shape/material, or many other reasons.
Weight
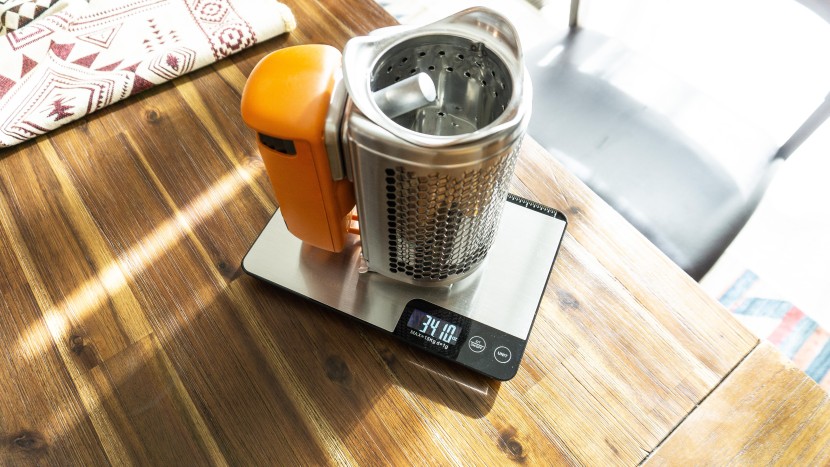
We assessed this metric by simply using a scale and weighing each option. The primary weight that we focused on includes only the stove, stove bag, pot, and lid, which we deemed the “essential weight”. For options that don't include a pot/lid combo, we used a 3-ounce titanium pot and lid set from Toaks as a standardized way to share how much a stove system will weigh on your back. We also assessed each option's packability when considering the final scores in this metric.
Simmering Ability
Here we paid careful attention to how low each stove could go without blowing out. Valve control sensitivity played a big role, as it let us slowly turn the flames down until they were just flickering. With the liquid fuel stoves, we pressurized the fuel bottle as per the manufacturer's instructions and did not try to game the system by depressurizing the bottle – a common technique for getting better simmering from this type of stove. We also cooked a pot of mac and cheese with each stove, comparing and contrasting how easily we could keep the pot from boiling over.
Wind Resistance
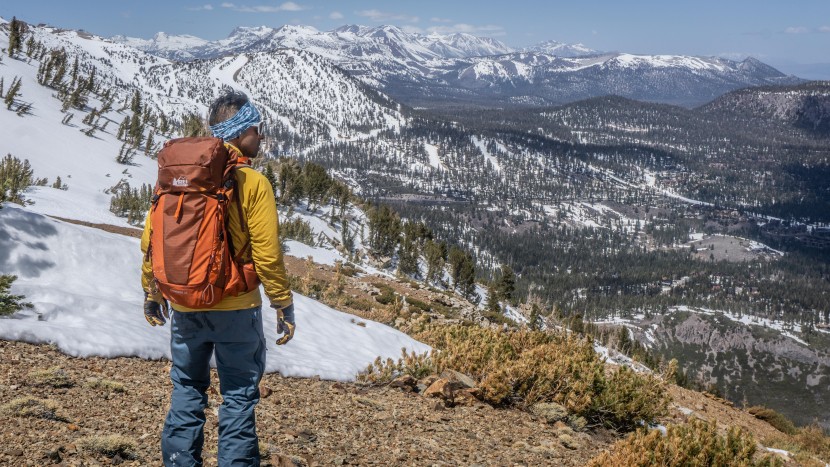
To assess wind resistance, we utilized a blend of objective box fan testing and extensive field testing. In the field, our team took these stoves far, wide, and high, deliberately seeking out exposed campsites and bivouacs to see how each model handled the wind in the real world. Top-scoring stoves stayed lit throughout a gusty boil without requiring significantly more fuel than in calm environments.
Ease Of Use
This is the kind of hands-on testing that OutdoorGearLab specializes in. We asked questions and then sought out the answers by using the stoves in the real world. Our questions included, but were not limited to:
- Are the controls easy to access? Any tiny knobs?
- How easy is the assembly (especially white gas stoves)?
- Is it easy or hard to burn our hands?
- If the stove is boiling over, can I turn it off while avoiding scalded fingers?
- For integrated canister stoves: how securely do the pot and stove mate?
- What small parts or accessories are there to keep track of?
- How fast can a stove transition from packed in a backpack to serving up a hot cup of joe?
We also paid close attention to boil time when assessing each model's ease of use. We measured boil time while examining fuel efficiency. Each round, we ensured the elevation, ambient air temperature, and pre-boil water temperature were the same before beginning our testing. It's crucial to note that manufacturers test and report boil times in wildly varying ways. We ultimately suggest keeping boil time lower down on your priorities list, as most of the top models had similar times, and aspects like fuel efficiency or simmering ability are, in our opinion, more important.

