To ensure total objectivity, we purchase every model in our review fleet. Our process begins with hands-on assembly followed by an intensive, weeks-long evaluation period. We believe a review is only as good as the miles behind it; therefore, every bike logs a minimum of 90 miles, with our top-rated models often seeing significantly more. By integrating these bikes into our daily commutes, we move beyond basic specs to uncover how they perform in the real world. Our final scores are derived from six core performance metrics designed to highlight the subtle but critical differences between each model.
Ride
Is the bike actually fun to ride? That's the question our Ride metric answers. We look at everything from seat comfort to how well the bike stays “planted” in a sharp turn.
To get the most accurate data, we put these bikes through a rigorous obstacle course. We weave through cones to check the turning radius and zip through tight spots to see whether the bike feels nimble or lumbering. We also test stability by loading every bike to its legal limit to see if the frame flexes or if the steering becomes “twitchy.” Because safety is paramount, we perform emergency stop tests to ensure the brakes are powerful enough—typically requiring oversized components—to bring a fully loaded rig to a smooth, controlled halt.
Our ergonomic evaluation begins with a comprehensive geometric audit. We measure the frame angles and dimensions in-house, cross-referencing our data against manufacturer charts to ensure accuracy. Beyond the frame, we analyze the height adjustment range of the seatpost and stem, alongside top tube height, to determine how easily different riders can mount and dismount the bike.
We also pay close attention to the touchpoints: the width of the handlebars, the texture of the grips, the support of the saddle, and the overall seated posture. Finally, every integrated feature is stress-tested to ensure it functions properly in real-world conditions. This meticulous data collection forms the foundation of our final score for this metric.
Real-World Range Test Results
Range is about more than just battery size; it's about real-world efficiency. To test it, we fully charge the bike, calibrate our rider's weight with a weighted pack, and hit a low-traffic course until the battery hits 0%.
To keep things objective, we never pedal during a range test. Using only the throttle allows us to score the bike's hardware without human interference. We record every foot of the journey using a suite of GPS tracking tools (Strava, Ride with GPS, and Apple Fitness). By averaging these high-precision reports, we provide a range score you can actually trust.
Power
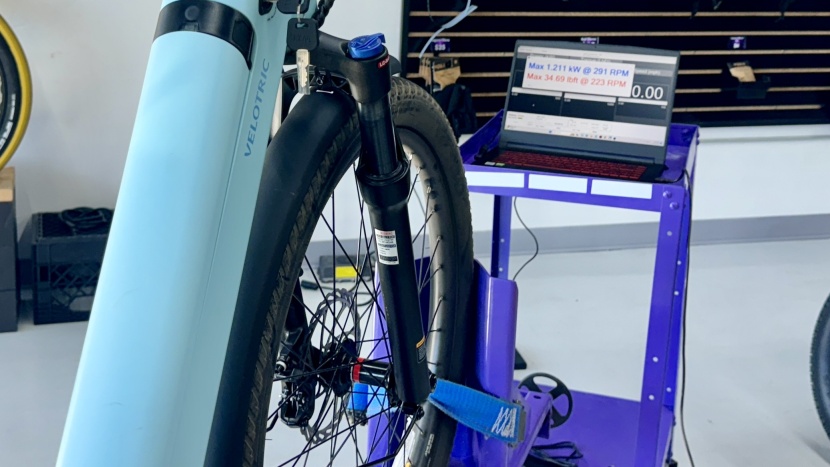
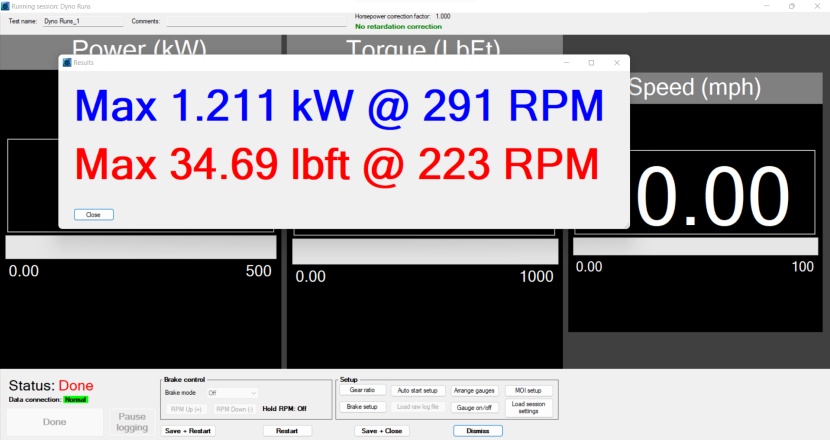
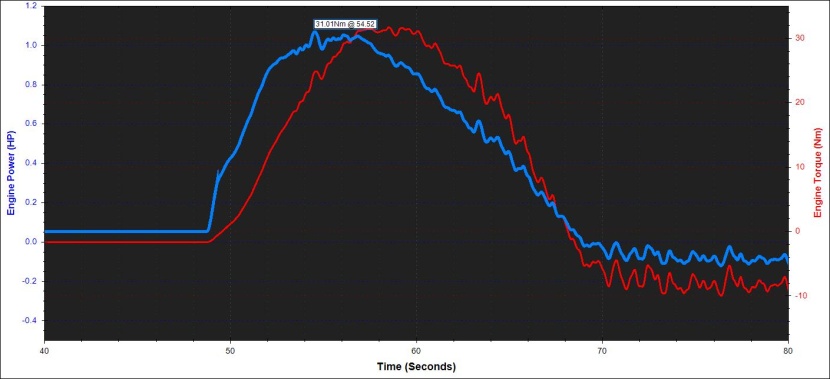
Our power metric combines acceleration, top speed, and uphill power output. To measure acceleration, we measure how long it takes for the bike to go from a complete stop to its top speed while using the throttle on flat, open pavement. To confirm top speeds, we max out the bike and use the Strava mobile app in conjunction with the onboard speedometer on the display. We use the same hill near the GearLab headquarters to test uphill power output and observe maximum uphill speed and how much it slows down in the steepest section. These measurements are performed using the same size and weight test rider without carrying extra cargo. If our test rider weighs less at the time of testing, we add weight to a backpack or fanny pack. To quantify the results of our experiential testing, we also put our electric bikes on a dynamometer to measure the torque and power delivered to the wheel. These figures are significantly lower than the numbers published by manufacturers, but our testing accounts for drivetrain efficiency losses and provides real comparative data. The power and torque figures that we publish are “at the wheel” measurements and capture the actual performance of the bike as a whole.
While assessing the pedal assistance modes, we look at the number of modes, how well they work, and how much speed increases from one mode to the next. We check their acceleration, noting jumpy starts that might throw the rider off balance or a power band that feels unnatural. This is more common on bikes with cadence sensors than torque sensors. We note how much of a pedal cycle is needed before the assistance kicks in and how much effort it takes from the rider to reach the top pedal-assist speed.
Cargo Carrying
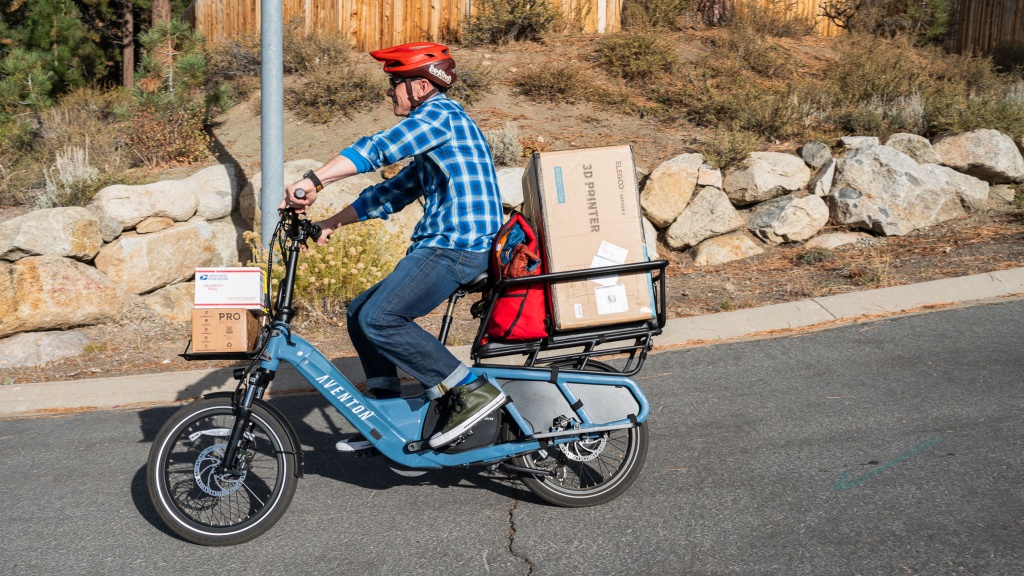
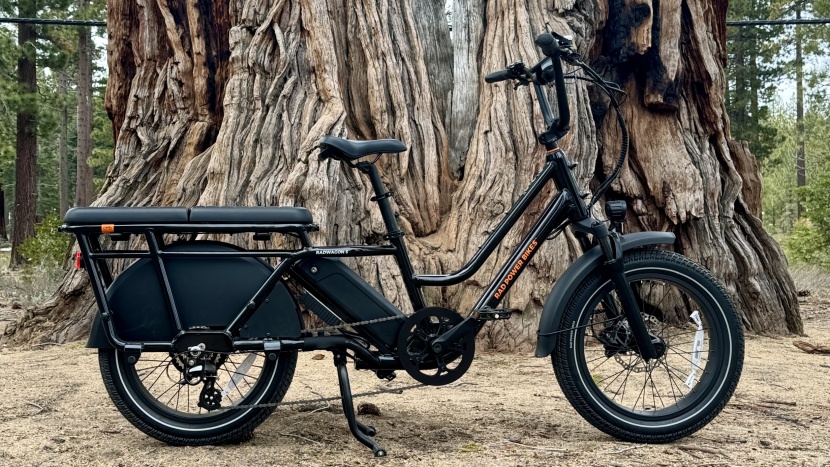
For this metric, we check the manufacturer's claimed weight capacity, looking at the total weight and the weight the racks can support. We then measure the size of the cargo rack. We pack boxes and weigh down each bike with its maximum capacity to see how it affects their handling and stability. Loading the bike to capacity involves packing significant weight into a backpack to give the bike a maximum weight rider and cargo weight. Finally, we research what additional add-on items the manufacturer offers to maximize carrying capabilities, paying special attention to kid seats and other convenient cargo accessories.
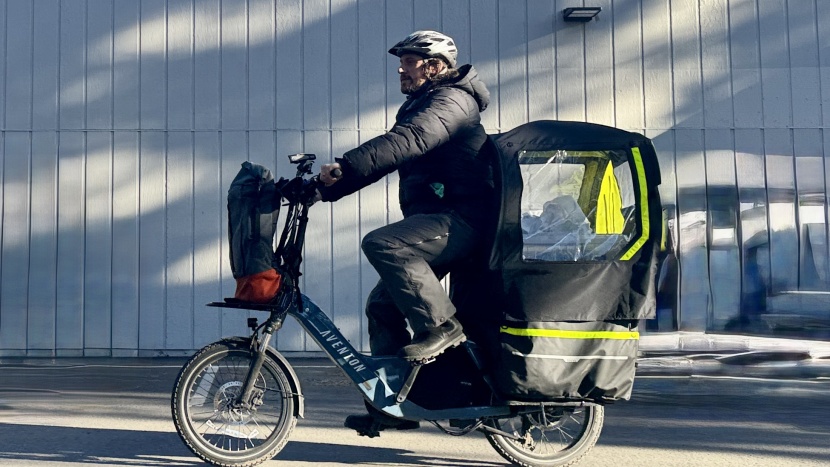
When we really like a bike, we hold on to it for long-term testing and comparison. This Aventon Abound is used year-round and now has an enclosed kid carrier, a modified front rack, and studded tires for riding on ice and snow. The Abound lineup is the most popular amongst our gear testers, with a number of them in the office parking lot.
Interface
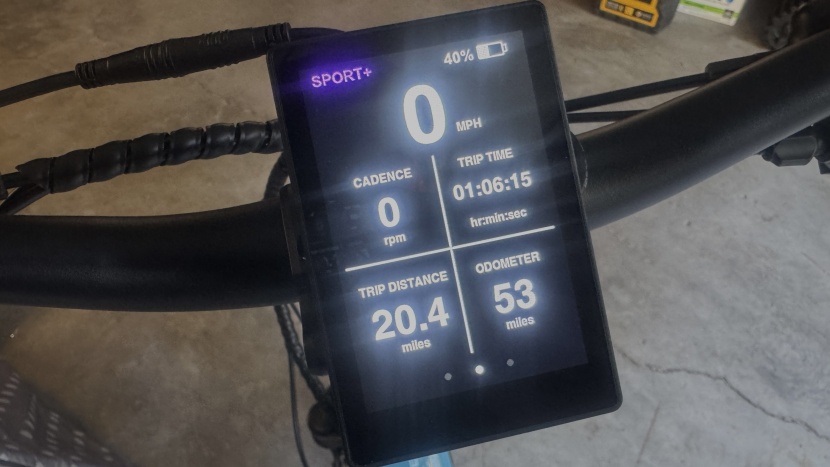
This metric assesses the quality of the onboard power controls and the display screen. We manipulate the controls while riding to see if they negatively affect our riding ability. We check for intuitive buttons and controls that do not have a big learning curve and do not distract the rider. We toggle through all the display settings and ensure that the data on the screen is readable at a glance. We use the remote with gloves to see how easily it can be used in cold weather. If an app integrates with the bike and displays, we download and test it. We also ensure that removable batteries can be easily removed from the bike for off-bike charging and securely locked in place for added security. We weigh all the batteries to identify differences in power densities across various battery chemistries, and note when a bike without a battery may be light enough to fit on a bike rack.
Assembly
We assemble any bike that doesn't come pre-assembled ourselves. We unbox the bike and see if it can be done as a single-person job and whether the included tools are sufficient for the job. We watch tutorial videos, read and follow instructions, and continue until the job is complete. We timed the entire process and compared how challenging it was to assemble each bike. We list the challenges and rate the difficulty with each bike. Some of the bikes we have tested have come impressively close to being fully assembled right out of the box. Users who are unsure of their mechanical aptitude are encouraged to watch the assembly videos and decide if utilizing a bicycle shop is the right idea.

