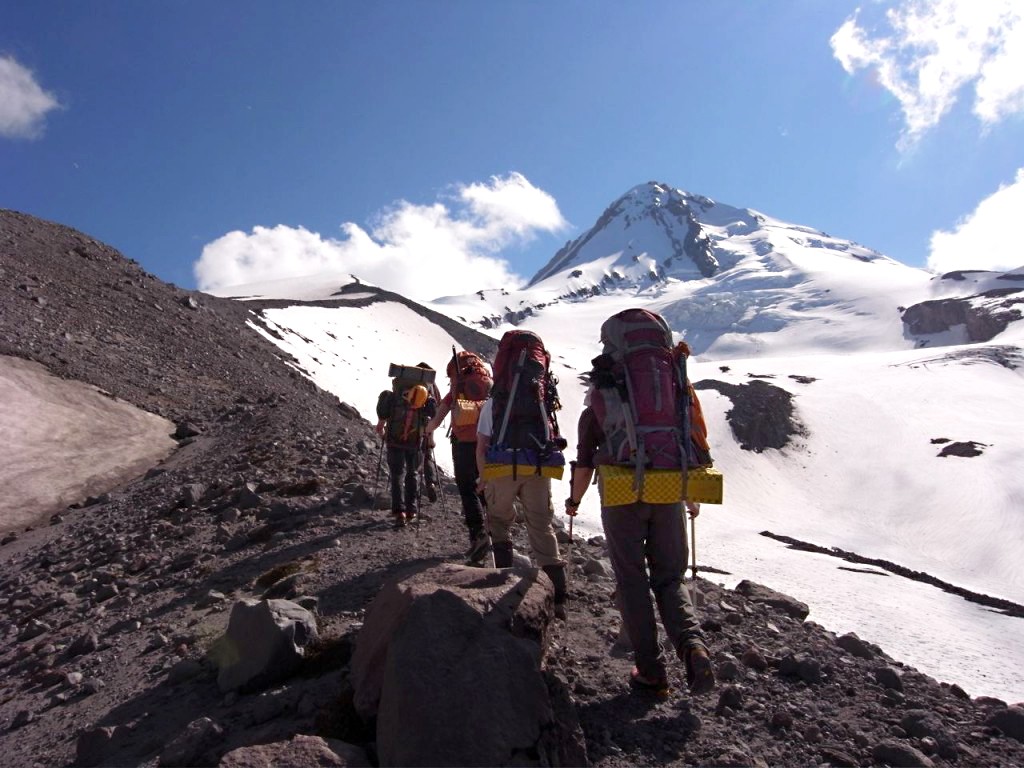
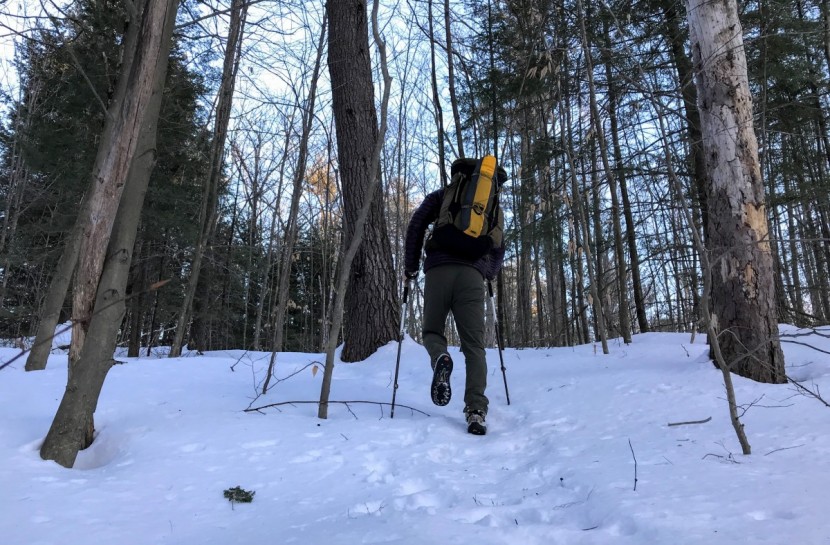
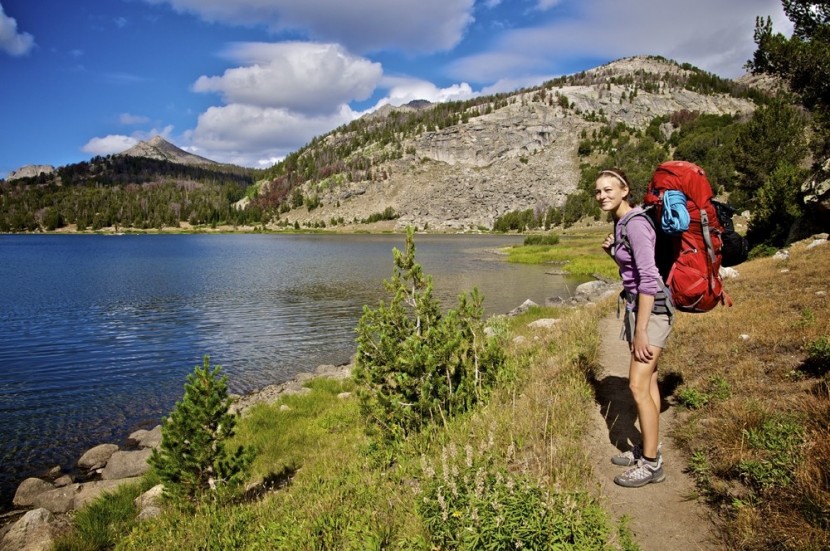
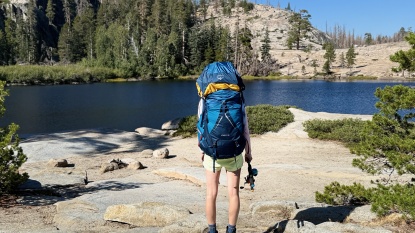
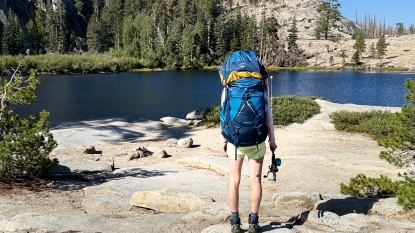
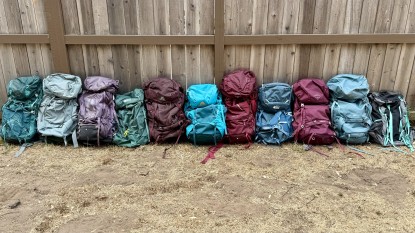
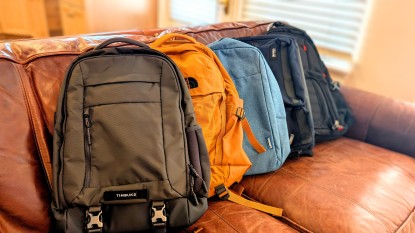
Selecting the right pack is one of the most important decisions you will make when gearing up for a trip. After all, you will be wearing it almost every waking moment for the duration of your trip, so we research and test all of the top packs on the market, year after year, to help you make the best decision based on your needs.
Every model is unique; some packs have innovative suspensions to help achieve a comfortable carry while maintaining airflow behind your back. Others have a simple design with basic features to reduce weight. Some are designed to haul the kitchen sink, while others are minimalistic to keep you fast and light. While comfort is critical, having the right set of pockets and features for your preference can also make all the difference between a pack you rave about and one you gripe about. Because so much of the selection is based on personal preference, our guidelines are meant to help you narrow down your choices based on how you plan to use the pack, how long you need to use it for, and perhaps, most importantly, how to find the most comfortable pack for you.
Backpacking Styles
Every person who goes out into the backcountry does so for different reasons. “Hike your own hike” is a common saying on long-distance trails. What kind of hiking do you want to do? By thinking about how you'd like to adventure with your pack, you can start to eliminate the models that won't suit your needs and focus on the features that matter the most to your specific needs.
What's the rush?
Are you the type of hiker that doesn't want to stress too much about weight reduction, prioritizing instead, a comfortable camp set-up, and a couple of novelty items to occupy your time? A pack of cards, a flask, pillow, extra tarp, camera gear, kite… do you want to have the flexibility to carry extra creature comforts into the woods, even if it means carrying the extra weight? Maybe you don't plan on pushing 20 miles a day and instead are happy with eight. Maybe you like long lunch breaks and slow meandering down the trail. If you don't plan to hike as far or as fast, you will likely gravitate towards a slightly larger pack, has a decent weight carrying capacity and one with a good assortment of outside pockets.
Fast and light
On the flip side, would you rather forgo luxury items to lessen your burden, allowing you to swiftly move through the trees? If you enjoy putting your body to the test and find pride in meeting the challenge of big mile days, then a lighter pack with a smaller capacity is for you. When looking for packs suited for this style of backpacking, focus on pack-on accessibility. Since speed is the game, taking off your pack to access more snacks, sunscreen, or bug spray feels more inconvenient. Instead of features like a lid or zipper access, you want a pack with large hip pockets and big easy to get in and out of water bottle pockets. Often packs like these will have large stretch mesh front pockets that are great for keeping your lunch in or stashing away a layer when the day warms up.
Pack Volume
The question of volume depends on the duration of your trip and how much stuff you like to bring. In our review, we chose to test a wide array of packs, ranging from 55-105 liters; these models can typically accommodate loads for 2-10 days of backcountry travel and meet the needs of a wide variety of adventurers. Some backpackers who bring more luxury items or dated gear may find they need a 70-liter pack for a short overnighter, while others who go with less and have lighter weight, more modern gear can easily make a 60-liter pack work for an Appalachian Trail thru-hike.
Some backpacks come in two or more volume options. If you read a review of a pack that isn't quite the right volume, it's worth looking to see if they offer a larger or smaller version. Our experience tells us that different sizes of the same model perform similarly to each other. In most cases, the overall design, frame, shoulder straps, and waist belts are identical.
Pack Weight
Pack weight can sometimes be about tradeoffs. To state the obvious, the more a pack weighs, the more weight you are carrying on your back and, generally speaking, the faster your hips, back, and shoulders could get sore. However, many packs tend to be heavier because they include more features (e.g., pockets, cords, clips, etc.), offer additional comfort (e.g., with more padding, sturdier suspension, and frame), or both. You need to ask yourself what is more important to you: extra 'creature comfort' features or reducing the load on your back. With a couple of exceptions, most of the packs in our review weigh between 3 and 5 1/2 pounds.
A Note on Pack Weight
Backpacking materials technology has vastly improved over even just the past decade. Comparable packs that used to weigh 8 pounds can now weigh half that amount. If you upgrade from an old school pack to a newer one with an equivalent volume and load rating, you should be pleasantly surprised by the comfort and weight savings they bring.
However, if you made up your mind to cut down on your total pack weight, the pack itself is not the place to start. That is, don't forgo comfort features to save a pound when the contents of your pack make up most of the weight. Yes, your overall load will be less with a lighter pack, but it sometimes means sacrificing padding or suspension that ultimately would make your trip more comfortable. For this reason, it's best to lighten the rest of your kit first, focusing on what you bring and don't ever use first. A good rule for this is if you haven't used an item in two weeks, send it home. Before investing in a pack, spend that money upgrading outdated/heavy gear such as a shelter, sleeping bag, or clothing. Then as your base weight shrinks, so can your backpack.
Properly Sizing and Fitting a Pack
Packs fit according to your specific torso length. To make sure you are getting the most comfortable experience on the trail, it's crucial to get a pack that fits well to your body. If it is too large or too small, the weight will not be distributed well and will almost certainly make hauling the weight around all day an undesirable situation, to say the least.
Frame Size
Each pack frame size can accommodate a range of torso lengths. For example, a small may cover 16-19 inches, a medium would fit a torso length of 18-21 inches, and a large may best fit a torso of 20-23 inches. (This varies by manufacturer, so make sure you double-check before you buy).
To get an accurate measurement of your torso length, you will need to find your C7 vertebra and iliac crest. To start, lean your head forward and feel for the knobby bone that sticks out at the base of your neck; that's the C7. Then locate your iliac crest. To do this, put your hands on your hip bones with thumbs pointing toward your back; the imaginary line between the tips of your thumbs where it crosses your spine is the bottom end of the measurement.
Hip Belt Size and Fit
Your waist size will dictate your hip belt size. Most manufacturers offer sizing charts for this.
Shoulder Straps
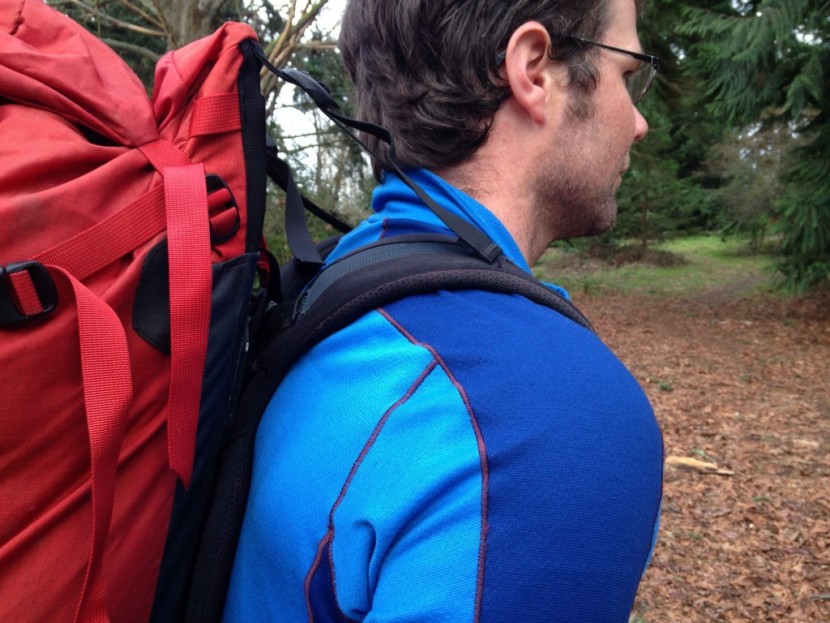
When wearing a loaded overnight pack, you should see the shoulder straps contouring up and over the shoulders, with very little space or gaps. The load lifters (the straps you feel if you try to pat yourself on the back) should be pulling the shoulder straps up at around 45 degrees, though anywhere from 35-60 degrees is acceptable depending on the type of pack it is.
Testing a Pack
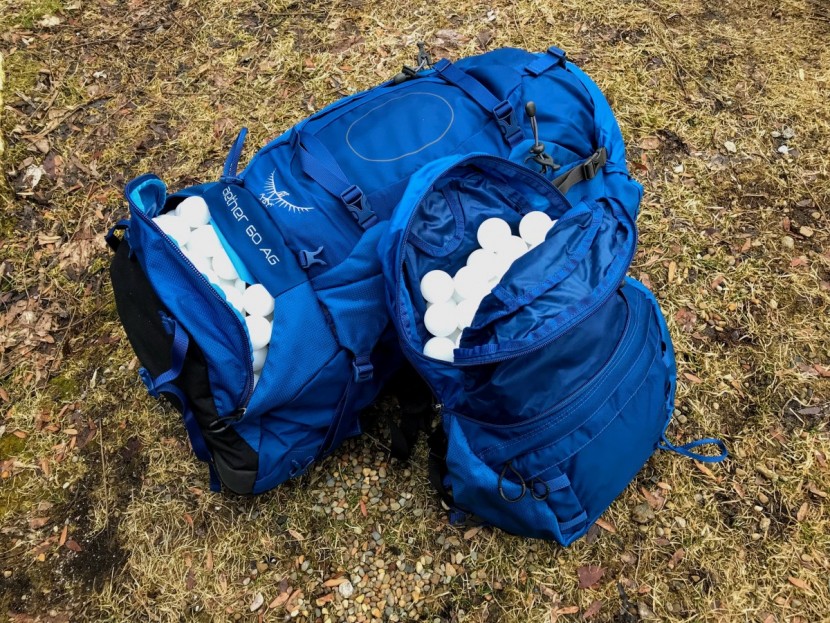
Once you have found a pack with the features and capacity you are looking for, load it up. If you are able, we recommend filling it with your own gear, but most retailers have pack weights if you are shopping in a sticks and bricks shop. Wear it around for a while. Put the max amount of weight you would carry in it, and spend some time getting to know how well it carries and distributes the load across the hips and shoulders.
Putting on a Pack
Once you have a fully loaded pack, getting it on your back is the next challenge. To start, make sure the shoulder and waist straps are loose. Stand with your feet should width apart, and your knees bent slightly. With the shoulder straps facing you, grab one with each hand. As you lift with your legs, slide one arm through one strap, then the second. Lean forward slightly so that you can first clip the hip belt and ensure that it is resting on your pelvis correctly. The correct position for a hip belt is typically higher than you wear your pants. The belt should wrap centered over the iliac crest - that bone you found when measuring your torso. Once that is cinched down, you can secure the shoulder and sternum straps and adjust the load lifters in that order.
Pack Weight Distribution
The importance and benefit of a properly-fitted pack should become clear as soon as you have it on your back. You should feel about 60-80% of the pack weight on your hips, with the remainder spread across your shoulders and chest.
Pack Anatomy & Proper Adjustment
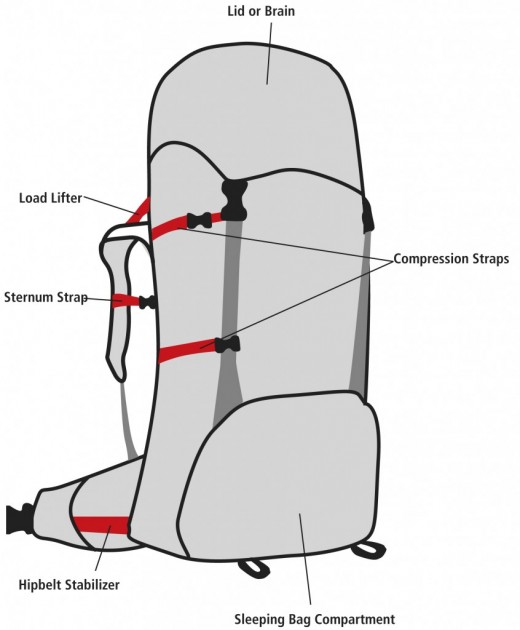
Knowing your way around your pack and its various features may not affect your initial purchasing decision. Still, it does improve your experience on the trail and allows you to use a pack comfortably and efficiently with different loads and types of gear. Knowing how to quickly strap your detachable daypack on, lash your skis or trekking poles to the side, or appropriately adjust the load lifters will make a difference on your adventure. Below is a simple chart of the parts of a pack, with the key adjustment points highlighted in red.
Straps
Load Lifter Straps: These are the straps that connect the top of the shoulder straps to the top of the pack frame. With a proper adjustment, they help prevent the backpack from leaning away from your back or shifting side to side with every step. They are important for avoiding shoulder pain, and they should pull at or around a 45-degree angle. It is common for people to pull too hard on these, so take it easy when pulling on them. Also, it is best to adjust these every time you put the bag on.
Compression Straps: These tighten along the sides and occasionally also across the front of the pack. They should extend when a pack is full and cinch down when a pack is almost empty. These allow for the wearer to achieve a balanced pack even if it is not entirely loaded down. This is a good feature that allows an overnight pack to double as a daypack in a pinch.
Hipbelt Stabilizer: This strap can be tightened around the hip belt, improving balance and comfort.
Frame
Modern packs almost always have internal frames. These carry closer to the body than old-school external frame packs, and they can provide support in a couple of different ways:
Aluminum Stays: These are thin support rods that run the length of the pack to give it shape and stiffness. Most packs have one down the center or two down the sides of the pack frame.
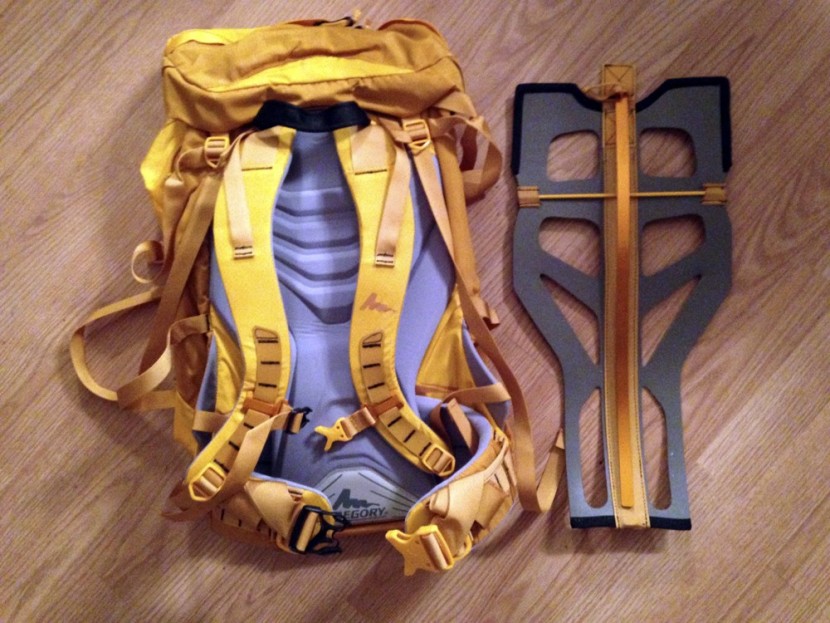
Framesheet: This is a thin, semi-rigid piece of material that lines the back of a pack, keeping the pack's shape and preventing objects from jabbing the wearer through the fabric. Some models have removable frame sheets, while others have this piece integrated. Often packs will use both a frame sheet and aluminum stays to provide support.
Perimeter Frame: These packs have a minimal amount of aluminum tubing contouring around the outside of the pack on the backside. This feature can also help achieve an airflow design that sits the pack off of the back to prevent sweat from pooling on the back. This style tends to have less support for heavier loads and force the weight farther from your back.
Styles of Packs
There are many styles of packs beyond models for backpacking. For many activities, you will most likely want a sport-specific model: a ski pack for skiing or a climbing pack for climbing. Your needed gear-carrying capacity will dictate your choice. Here we detail different styles, what makes them unique, and why you may or may not want one of these particular packs.
Backpacking Packs
Backpacking packs are designed to carry large loads (30-50 pounds) for multiple days and usually range between 50-80 liters in capacity. If you plan to hike long distances with smaller loads, see below for ultralight packs. Packs for backpacking are designed with an internal frame and usually offer a suspension with many adjustment points to most comfortably carry whatever weight you are toting. The primary adjustment points are the hip belt, shoulder straps, sternum strap, compression straps, and load lifters. Often, a pack for backpacking comes with separate compartments for certain types of gear, such as sleeping bag compartments or straps to lash a sleeping pad to the outside. These packs almost always feature hydration bladder compatibility and usually also offer water bottle slots on the sides so that you can choose your favored water carrying method.
These packs will often be too heavy and too large to cross over into other activities well, but for multi-day trips with a lot of gear, they will offer the needed capacity, support, and comfort.
Ultralight Packs
Ultralight backpacking is for those experienced hikers that want to reduce weight and carry only the bare essentials. If you are considering an ultralight pack, you should first consider your pack load, starting with your base weight (the weight of your kit minus food and water). If your base weight is over 30 pounds and you don't want to reduce it, stick with a traditional backpacking pack. If your base weight is in the 20-pound range, that's a lightweight load that could be well-supported by a lighter traditional pack or some UL packs. At a 10-15 pound base weight, an ultralight pack is very appropriate.
Ultralight packs tend to be smaller. Instead of 60 or 65-liter packs, 40-50 liter packs are much more common. They will typically have a streamlined, lightweight design without many frills or unnecessary bells and whistles, including only the most useful ones. Ultralight models tend to offer fewer organizational options and will require more thoughtful and creative packing. Be aware that minimalist packs usually use thinner, less durable materials than more substantial designs, so your ultralight pack will not be as durable or last as long as a traditional backpack; however, the saved strain on your shoulders is something that might make backpacking worthwhile. Like most packs, ultralight models come in multiple sizes, and a few even offer customization.
Women's Packs
Though women /can/ wear unisex packs or appropriately sized men's packs, many models come in versions designed for women. As noted in our Review of Women's Packs, these products tend to offer smaller torso lengths and narrower shoulder widths than men's packs, as well as curved waist belts and shoulder straps that work better with women's body types.
Specialty Packs
Some packs are designed for specific activities such as alpine mountaineering or hunting. Those packs will be hyperfocused on specific features that improve the usability in those areas.
Conclusion
After taking into account the primary considerations of capacity, style, and fit, you should be well on your way to the perfect pack (or packs) for your adventures. Don't forget to educate yourself on the possible adjustments and functions of your new pack so that you can make the most of it and enjoy it.

