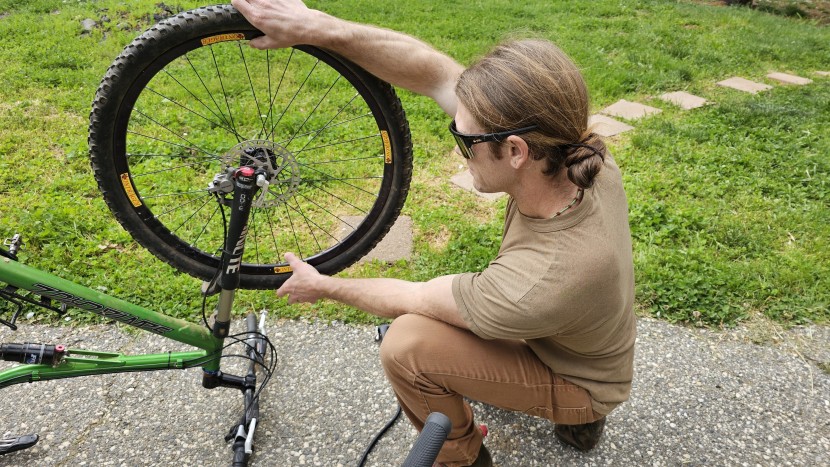
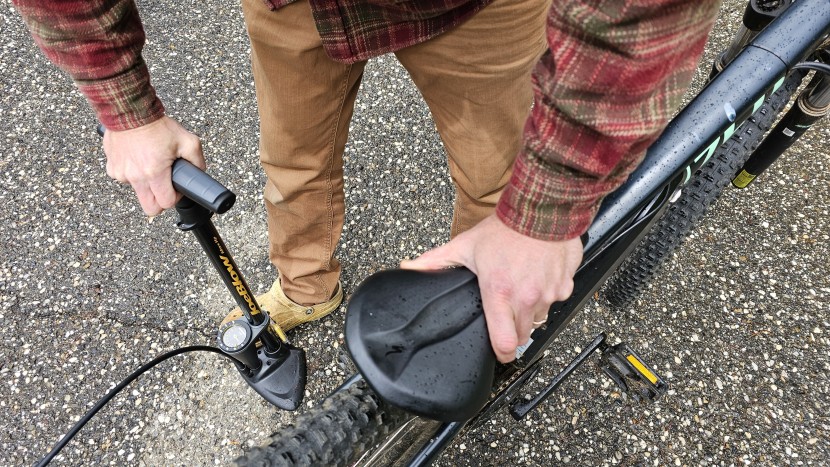
We tested floor pumps by using them a lot. We inflated road and mountain bike tires of varying widths, with Presta and Schrader valves, to a wide range of pressures. We measured inflation speed by counting each stroke and checked accuracy with an in-house custom-engineered pressure gauge. We noted how pleasant and simple each pump was to use and how likely they are to hold up to regular use.
After inspecting the quality of their construction, we treated them a little less gently than we would our own. We knocked them around, stuffed them into bags, and piled them in the bed of a few trucks. We observed how stable their bases are when standing on their own and when in use, noticed how our hands felt after pushing their handles, and examined the suppleness and sturdiness of the hoses over time.
To ensure our findings are quantifiable and reproducible, we put each pump through the same basic testing processes multiple times. Each pump was scored using our five different rating metrics — ease of attachment, ease of use, inflation, stability, and the accuracy of the gauge. Basically, we put these pumps through more than you will so you can be sure you are buying a quality piece of equipment.
Ease of Use
We weighted this metric heavily since the most important features of a pump's function are how easily and how securely it attaches to the tire valve, and how easy it is to accurately pump to your desired pressure.
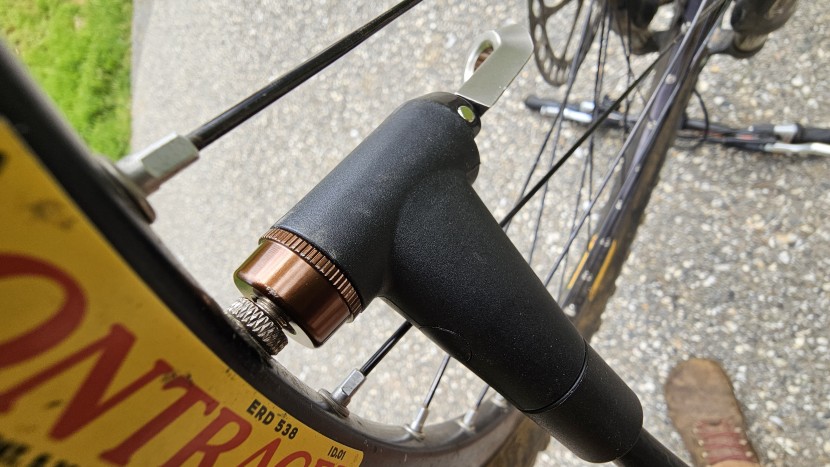
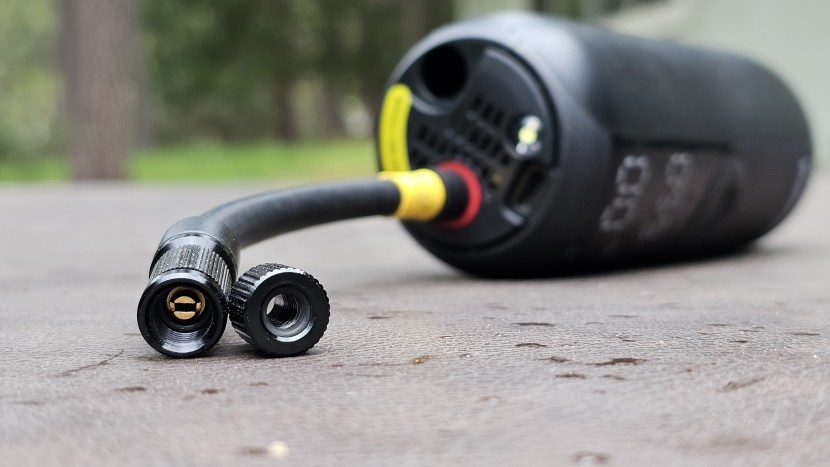
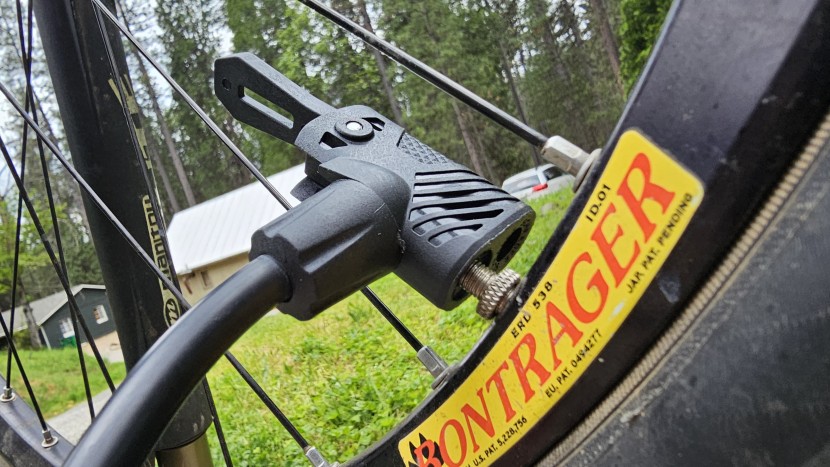
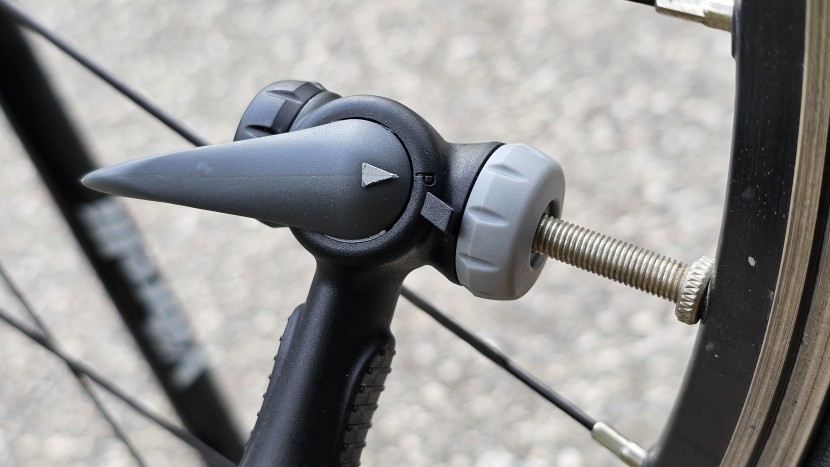
We first considered how intuitive each nozzle head is to operate. Could each tester simply grab the pump and know how to attach it to the valve? Were there written instructions or diagrams printed on the head to help? We paid particular attention to this metric at the beginning of the test and asked less experienced friends to attach them as well. This helped us determine which nozzles are the easiest to use. Then, we noted how quickly and consistently each pump's nozzle formed a solid, no-leak seal on each valve type.
We also listened for any air leaking while we pumped, which we only heard if we missed the initial seal. When you remove a valve, you often hear a rush of air released from the hose itself, so it can be tricky to tell if you lose any from the tire. We did note if we really had to wrestle with any of the nozzles to release them. We also noted when we consistently had a difficult time getting a proper seal with a particular valve combination, and that reflected in the scoring.
Inflation
We counted the number of strokes it took to achieve the desired pressure on the pump gauge to test inflation speed. We tested this with a road tire, pumping it from 0 to 100 PSI, and two different size and volume mountain bike tires from 0 to 35 PSI. On the charge pumps, we counted the strokes that it took to charge the pump to 120 and 160 PSI, and then noted how much air each pump left in the large volume MTB tire once the charge was fully released. For the electric mini compressor pumps we noted how much time it took to inflate all of our tires to their target pressures, both when the batteries were low and full.
Other variables that may affect inflation speed in a real-world situation are hose length, ease of head attachment, improper valve seal, and fatigue. Poor pump stability can also hurt inflation speed, as it's challenging to get into a groove with your pump strokes if the handle is wobbling around.
We tested a high-volume pump, which works best for high-volume mountain bike tires, and charge chamber pumps designed to quickly and effectively seal tubeless tires. We noted when a pump accommodated both HV MTB tires and HP RB tires. Or when it worked best with high pressure Presta valves. Testing them on both tire types quickly shows the advantage of using the correct type of bike pump for your needs. Some of the pumps did a pretty good job accommodating both tire types for those who enjoy both road and trail riding.
Stability
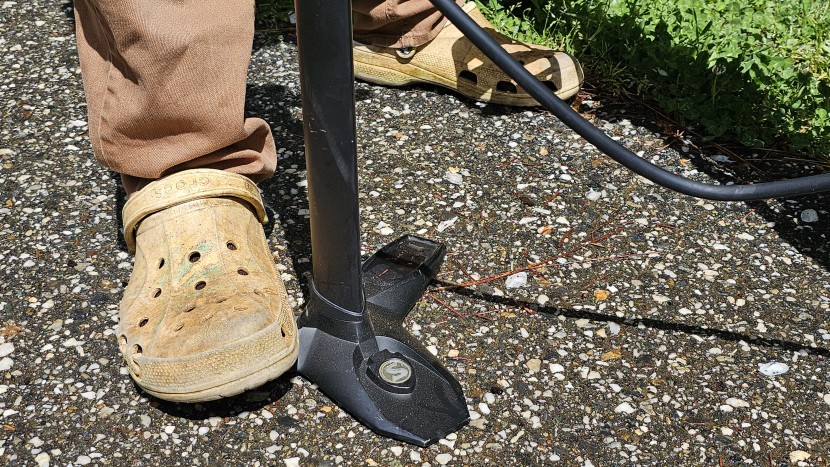
We judged stability by assessing each pump's base and observing its stability when free-standing and when in use, both one- and two-handed. For our formal stability test, we took notes on each pump's design, including how wide and well-balanced the base appeared and how the weight was distributed vertically. For example, placing a large gauge higher on the pump makes it harder for the base to keep that weight balanced. Shorter pumps with larger bases and lower gauges that provide stability in at least three directions tend to be more stable.
Then we prepped the pumps for storage, securing their hoses and nozzles as intended, and moved them around a lot during testing. We set them on all types and levels of surfaces, noting features that made the bases instable in a certain direction, or added weight high on the pump, making them top heavy. Some the bases were such low quality that we could tell right away they wouldn't meet the challenge we had in store for them.
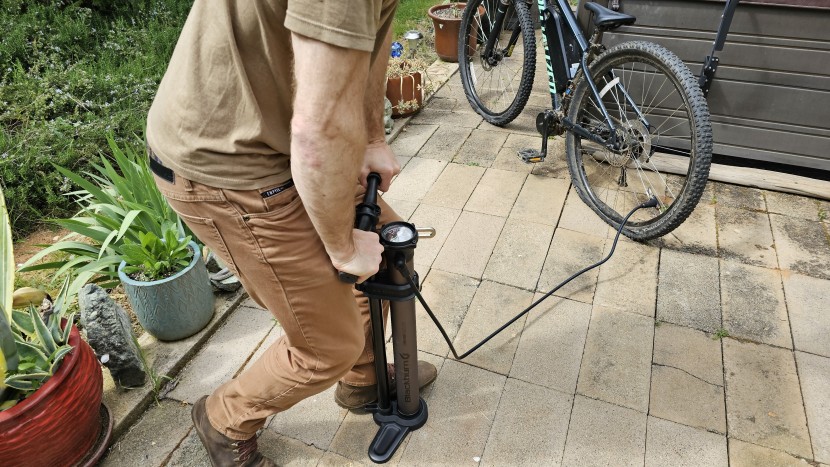
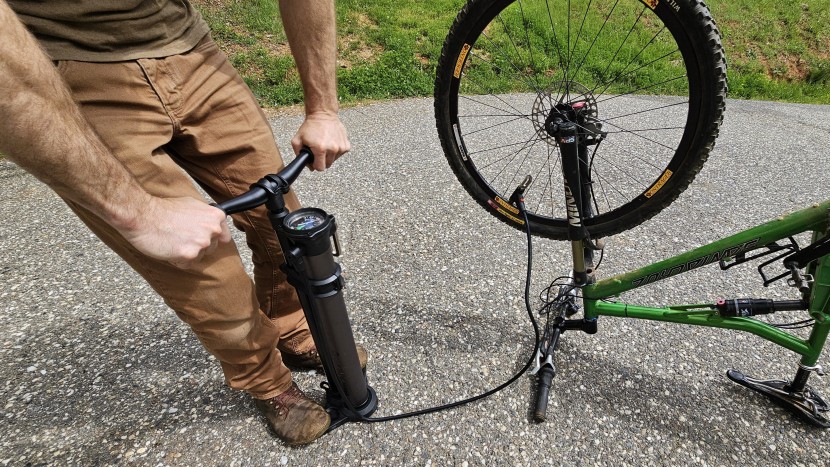
More important, though, is each pump's stability while in use. A strong base and more balanced construction help provide more stability. Especially when pumping a road tire up to high pressures, those last strokes require a solid foundation to push against. We also used each pump one-handed, holding our bike steady with one hand while pumping with the other, one foot on the pump for stability. This process allowed us to assess the stability of the pumps in a wide range of scenarios.
Accuracy
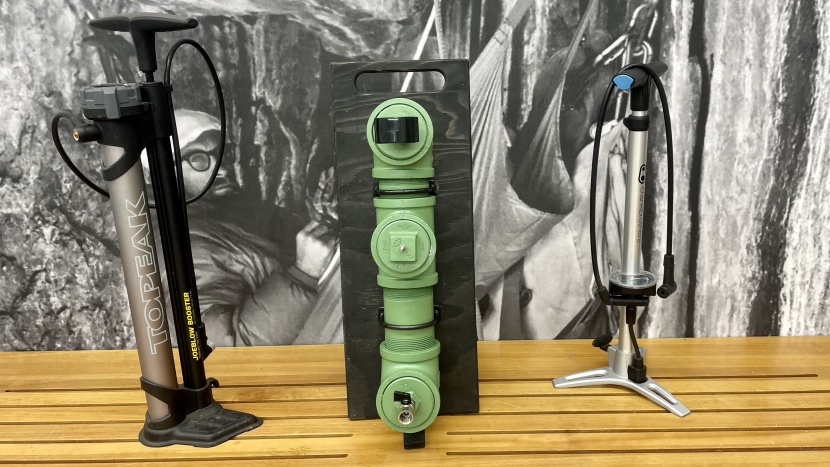
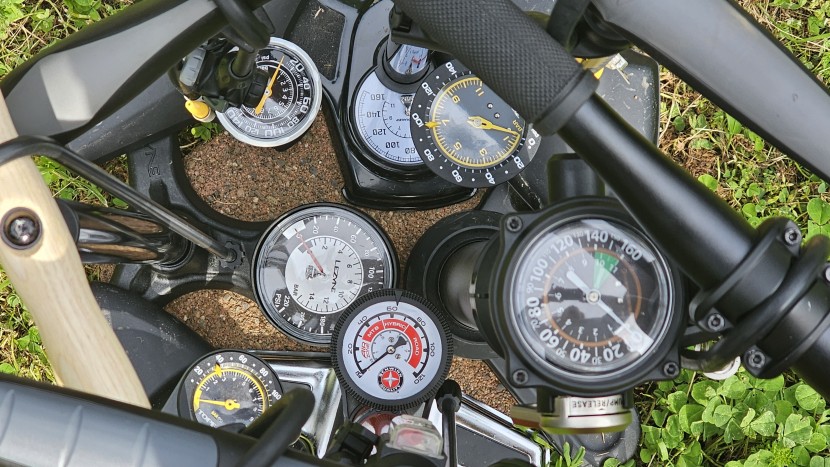
We connected each pump to our specially engineered pressure chamber designed to accurately measure the chamber's internal pressure using a sensitive digital gauge. We then brought the chamber up to 20 PSI, then 50 PSI, and then 100 PSI, measuring the difference in the gauge's reading vs the actual pressure along the way. We averaged these three scores to give us an average difference in gauge reading vs actual pressure. The highest scores were given to the lowest average differences.

