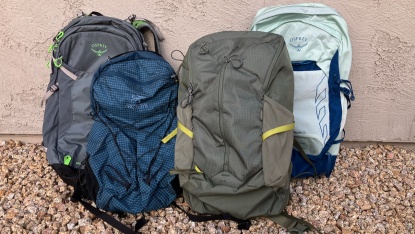
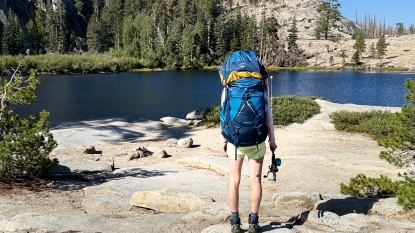
You're standing at your local outdoor retailer, staring at the multitude of backpack options. Do you need a panel-loader or top-loader? What capacity do you need? And what about all those features? We've all been there, trying to select the perfect bag for our needs. We are here to offer some tips.
Consider Your Activities Before Purchasing a Pack
No matter what activities you enjoy, a backpack is an essential piece of gear. However, some are tailor-made for specific uses. Before you choose one, you'll want to determine your primary purpose for a pack. Your intended use of a pack will help determine which features you need. Some daypacks are very specialized, whereas others can easily handle anything from hiking to scrambling to commuting.
Hiking
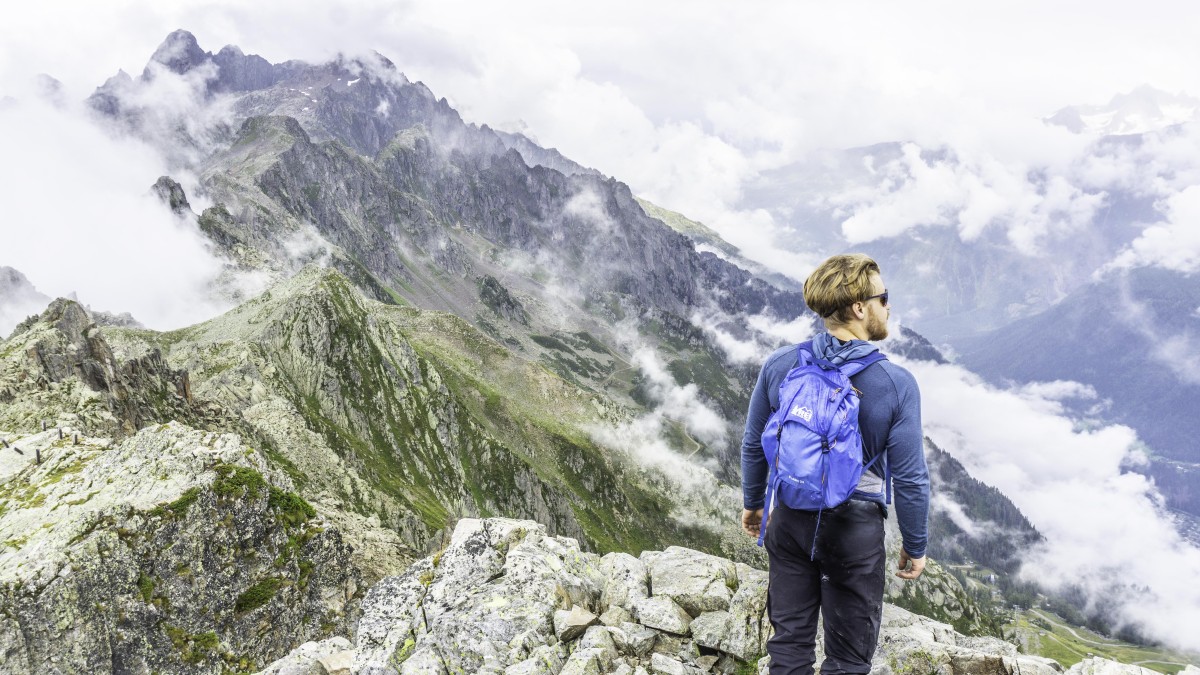
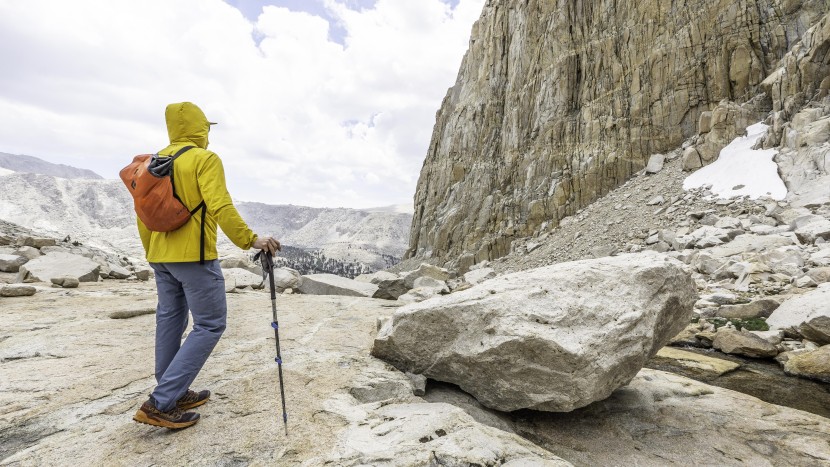
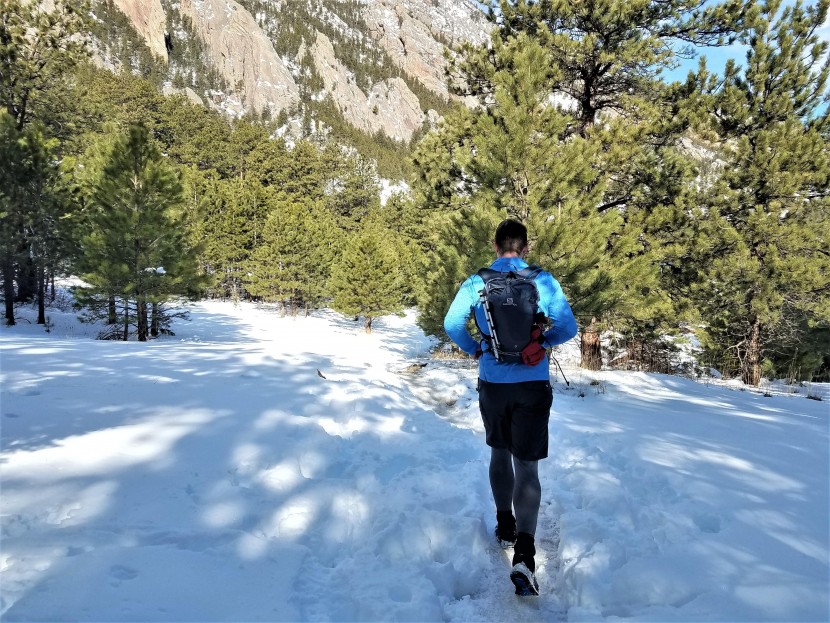
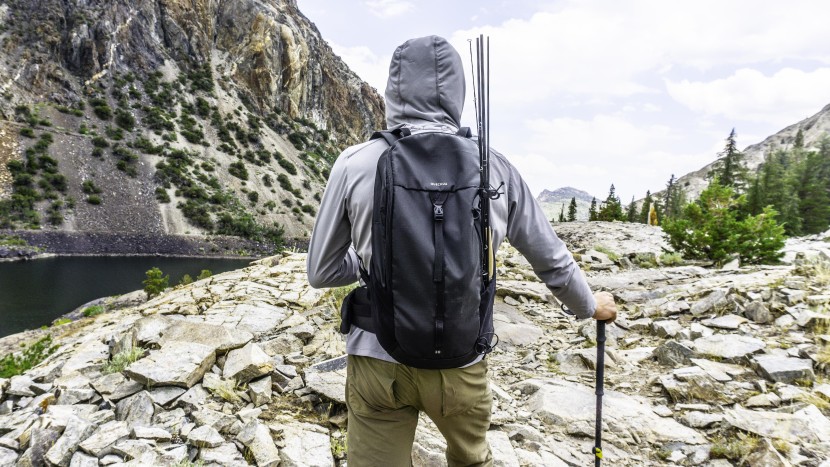
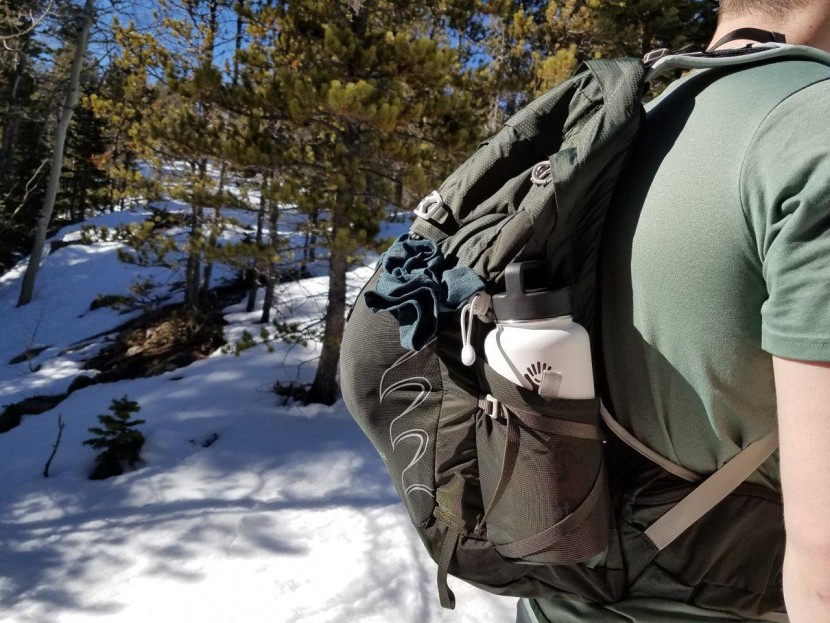
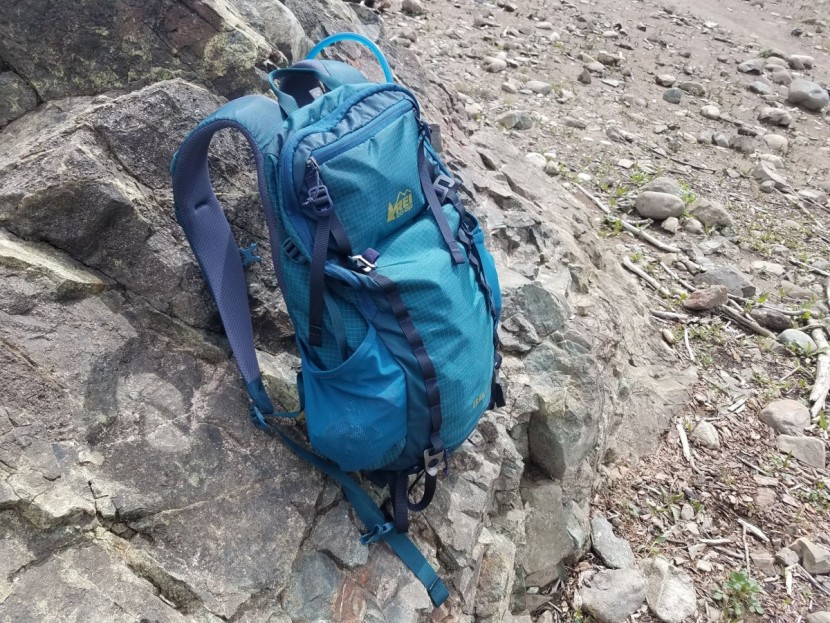
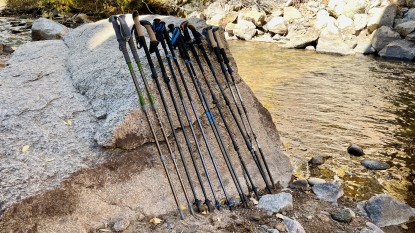
With a hiking-specific pack, you're looking for one that can carry everything you need for a day hike (water, extra layers of clothing, first aid kit, etc.). It also must have a decent level of comfort and support, as this tends to stay on your back for hours at a time. Typically, hiking packs range in capacity from around 15 to 30 liters and come with a few key features. Look for accessible compartments for smaller items (phone, maps, compass), a hydration compartment, carry options for trekking poles or ice axes, and some side pockets for water bottles or sunscreen. Bear in mind, the pack will often stay on all day, so side pockets or pockets easily accessible while walking makes a big impact for carrying a phone or snack (i.e., hip belt pockets). If your biggest concern is comfort, pay extra attention to cushioning and ventilation.
Climbing
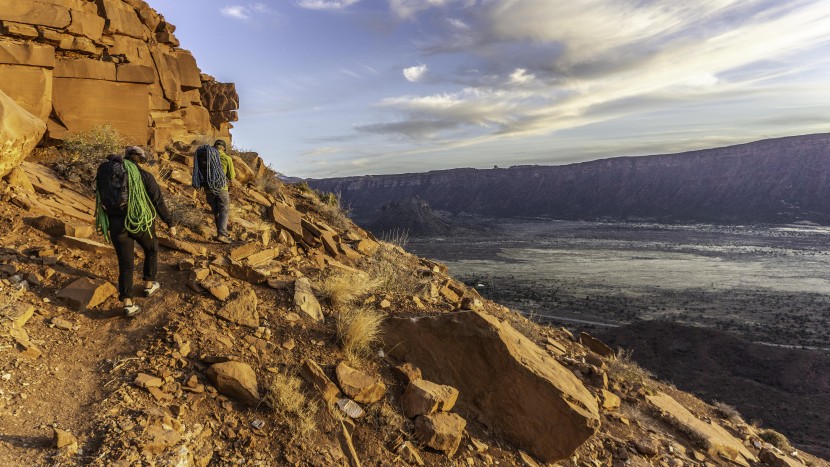
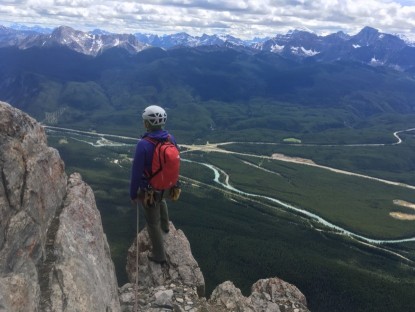
Depending on your climbing style, you may look for a smaller pack, around 12 to 20 liters, that would be great to carry up with you on multi-pitch routes. Or you may be looking for a slightly larger pack that will cart all of your gear to the base of a crag. Either way, you'll probably want to look for a pack with a narrow profile. This allows for a greater range of motion for your arms and shoulders with a narrower pack, as well as extra room to carry a rope over top without getting too wide or bulky. Also, pay special attention to comfort and consider plenty of structure to handle heavier loads. Climbing gear isn't light and approaches may be long. Climbing packs may also have additional features such as daisy chain attachments on the outside for clipping gear. Secured and closed compartments are preferred over stretch pockets for climbing since there's nothing worse than dropping a crucial piece of gear halfway up a multi-pitch.
Some packs also have features that are great for alpine climbing or mountaineering. Those with secure ice axe loops, articulating suspension, and reinforced outer pockets (good for both extra layers or crampons) really can shine in the mountains. Be aware, accessing a pack with gloves or frigid fingers can be difficult in the cold. Keep an eye out for larger zipper pulls and features easily handled with gloves on.
Winter Snowshoeing and Skiing
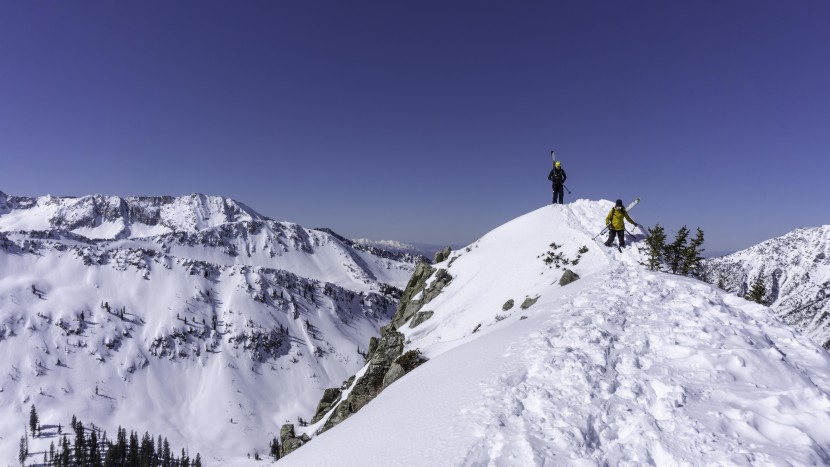
Packs for skiing tend to be on the larger side, 20 to 40 liters, and favor the fast and light attitude over flashy features. For these bags, a smooth and narrow profile is a plus, and a sternum strap and hip belt are essential. Most of these packs will have a place to stow your ice axe and sometimes bonus feature compartments for crampons, a shovel, and a probe. Look for packs that have external compression straps or specific attachment points for things like snowshoes and skis. If you are specifically looking for a ski touring pack, you'll also want to make sure there are attachment points for your skis. We didn't review any skiing-specific packs for mountaineering and snowshoeing, when you may want to bring a bit more gear, such as avalanche safety gear, snowshoes, and an ice axe.
Trail Running and Adventure Racing
Typically, minimalistic running packs run on the small side (less than 20 liters) and are really for essentials only. We ran with both and were pleasantly surprised at how securely they carried a light load without restricting our range of motion. For fast and light adventures, you may be better served by a running hydration vest.
Wet Environments or Water Sports
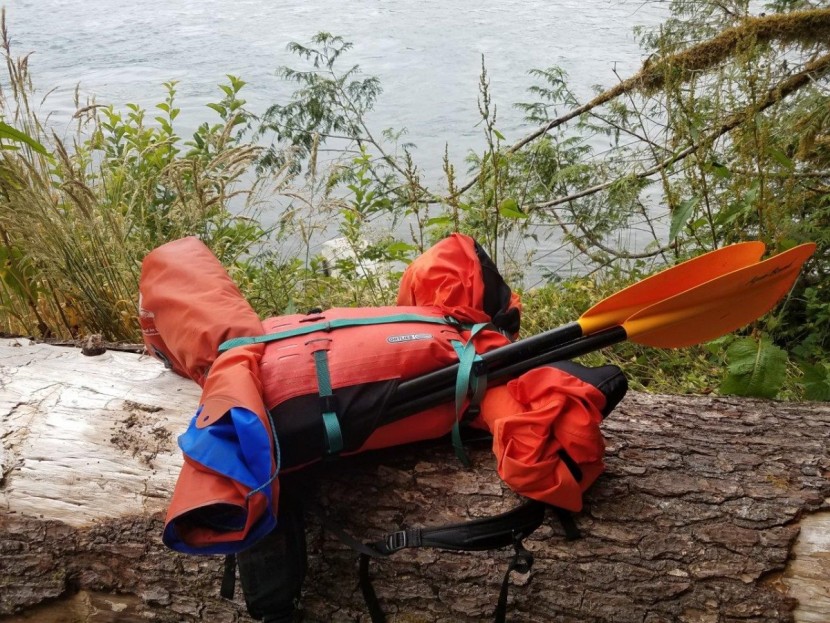
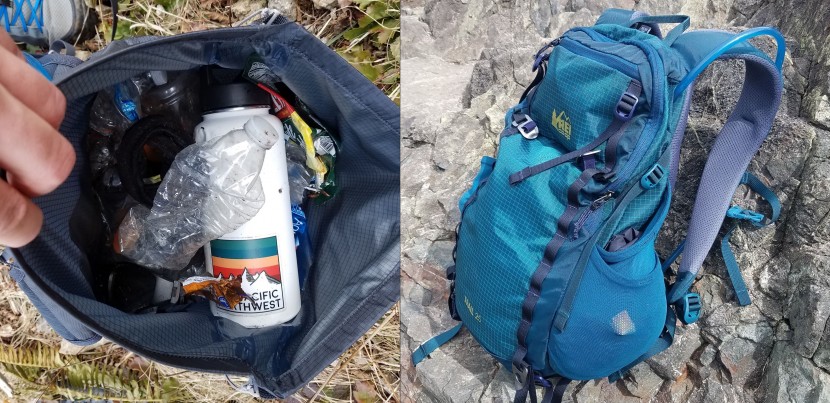
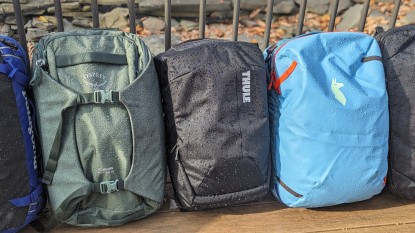
Increasingly, companies are producing backpacks with innovative fabrics and designs that make them easier to use around water. If you live in a particularly rainy environment like the Pacific Northwest or spend a lot of time around water fishing or rafting, consider a pack with water-resistant materials that dry quickly and keep out light rain. If you need to keep your gear completely dry, even while swimming, only packs with completely waterproof fabric and water-tight zippers will do the job without internal pack liners. While we have shied away from this type of pack in the past due to their generally uncomfortable or inconvenient design, newer models have convinced us that it is possible to have an effective backpack that is completely water-tight.
Around Town and Commuting
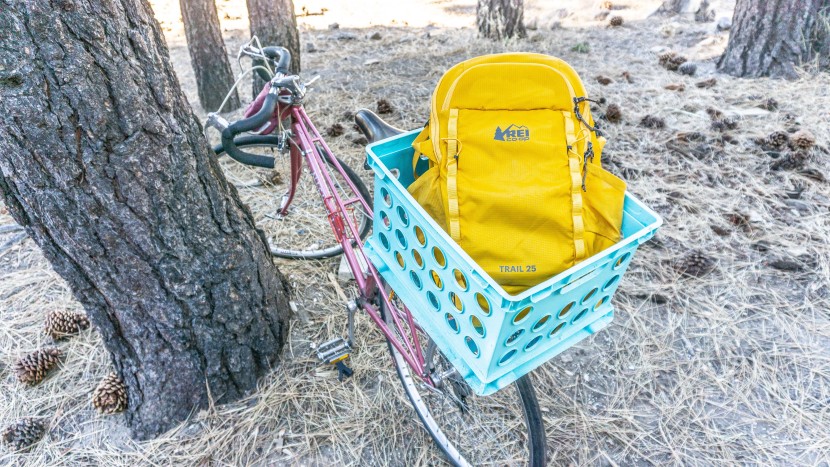
Most of the daypacks we tested can fit into this category, but some of them work better than others for around-town use. Ideally, an around-town pack will have a compartment to fit a laptop. Look for a few other organizational compartments for writing utensils etc. A padded back panel is also helpful in keeping stuff from poking your back. You may even want some cycling-specific features, such as a bungee helmet clip and blinker attachment.
Travel
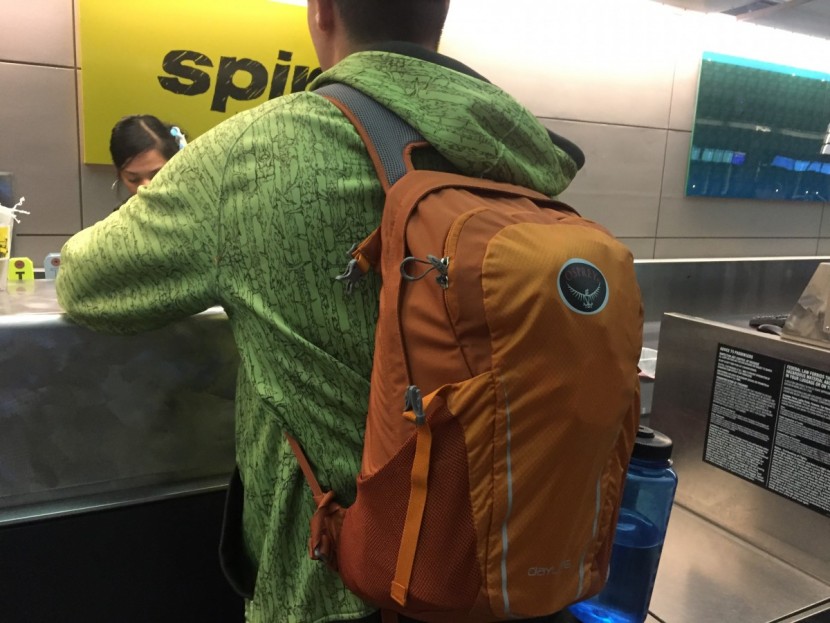
While you can use most backpacks as a personal item or carry-on, some clearly work better than others. Packs with flexible suspensions and frames can be shoved under a seat, whereas rigid-framed packs take up a lot of space, even when empty. Also, it is important to consider access. Our favorite travel bags have easy-to-use main compartments with generous openings.
Some daypacks are even being designed with travel at the forefront of the design. Osprey has integrated multipack designs, allowing carry ons on your back and personal items attached in the front. One suspension system with the ability to have two packs.
How to Choose a Daypack
Here are the main factors to consider when selecting your pack.
Comfort
Depending on the activity you participate in, you will have different comfort concerns with a daypack. If the activity requires heavy gear, a comfortable suspension system is needed. If your goal is speed, comfort takes the form of light, fluid, and form-fitting style packs with a minimal suspension. When trying on, fitting, and selecting your pack, try to simulate the load you'll likely carry and the gear you'll likely wear.
Capacity
For smaller and/or lighter days with minimal gear, consider packs under 20 liters in size. For small to medium-length days with a bit more equipment, 20-30 liters may be a better capacity range. For longer days and/or gear-intensive outings, consider a daypack that is over 30 liters in size.
Capacity isn't simply limited to the storage volume inside of a pack. A pack with plenty of attachment points on the outside can carry more gear when items can be lashed to the outside.
Ventilated Back Panels
While Jansport invented the first modern-looking backpack in 1967, technology has come a long way. Those first packs were adapted from those used to haul books around in school. An awesome advancement is the addition of ventilated and structured back panels. There's little worse than hiking on a bluebird day and feeling like you're wearing a warm, wet sweater on your back.
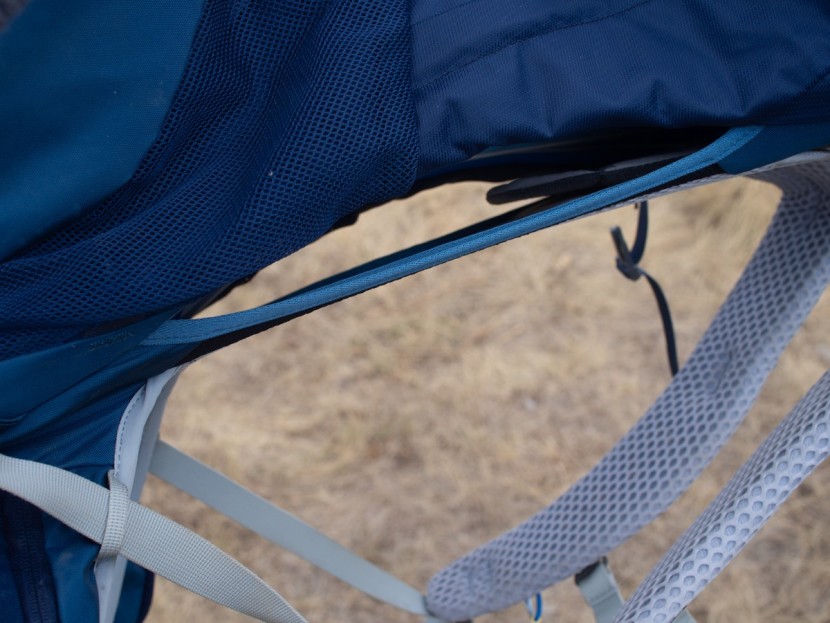
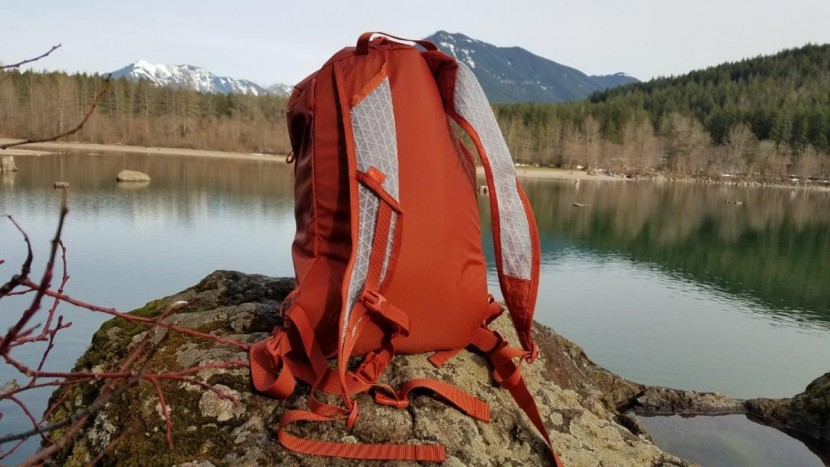
Many of the new packs use a tensioned back panel design system. This pairs a rigid mesh panel that sits against the back with a frame that pushes the load slightly away from the back. This creates airspace in between, keeping your back cooler.
Weight vs. Features
Some daypacks have a fast and light attitude and are simple and straightforward. Others come loaded with a full range of bells and whistles. Extra features can make your life easier, especially when it comes to organizing your pack. But you trade convenience and sometimes comfort for added weight. The trick is figuring out your specific needs and balancing the features you need with how much weight you want to carry. No matter how much or little you put in your bag, remember that you'll always have to carry its base weight. A heavy feature often worth its weight is a comfortable suspension system, especially when the pack is normally used for heavy loads.
Top-Loader vs. Panel-Loader
Packs come in two different loading styles — top-loaders and panel-loaders. Top-loading packs tend to be lighter and more simplistic. A top-loading design is more in line with a backpacking pack. All of your gear goes into a single compartment from the top. Top loaded closures are more durable than zippers and tend to be compatible with more outside-carry options, as well as leaving long items like camera tripods sticking out of the top of the pack.
Panel-loading packs usually have one or more compartments accessible through curving zippers. These bags tend to have more organizational features and are easier to rifle through once loaded. Panel-loading packs can be less durable than top-loaders, especially in sandy environments like the Southwest United States, where silt and sand can wreak havoc on zippers. However, they allow a level of organization and access to your gear that beats most top-loaders.
A notable exception to these categories are packs with non-traditional access. Duffel-style zippers make getting into any part of a stuffed main compartment easy. Other packs feature stretch mesh stuff pockets all over the front and back of the pack. While these aren't as secure as zippered pockets, they hold items plenty securely for most activities and are super quick to access. Additionally, some packs come as sort of a hybrid with top-load access coupled together with a full-length straight zipper along one side of the main compartment. This can allow for easy entry to your gear load without needing to fully unpack on the go.
Rain Cover
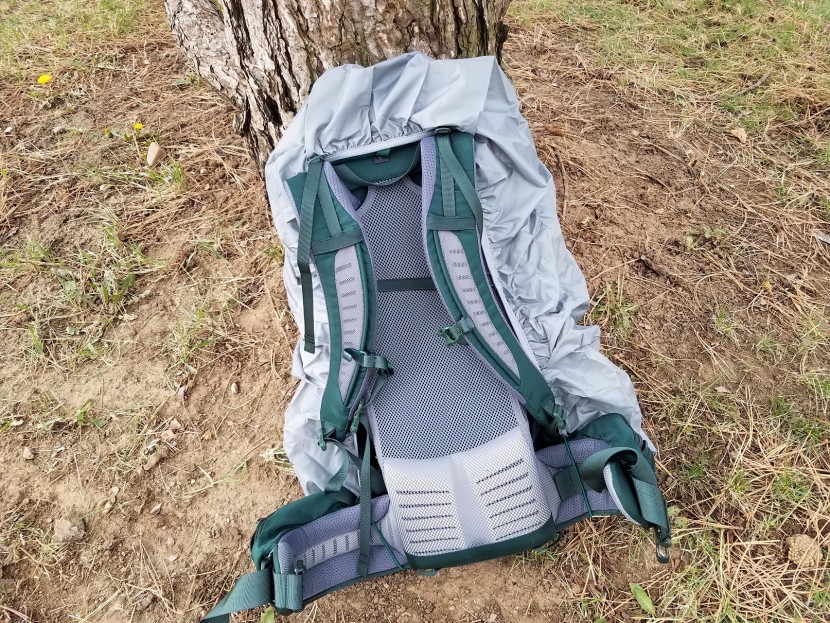
Only a few of the packs we tested included rain covers. If you're planning on hiking in high humidity or rainy weather, consider purchasing one. These will cover the pack body, helping ensure that its contents will remain dry. However, if you plan on strapping lots of gear to the outside of your pack, like ice axes or snowshoes, remember that a pack cover will not fit over odd-shaped objects. For those times, a thick garbage bag or pack-lining dry bag works well to keep your gear dry.
If you live in wet regions like the Pacific Northwest, consider looking for a pack with an included rain cover. These rain covers fit these packs perfectly, which you will appreciate if you need to use them frequently. There are also many different rain covers available separately if your must-have option doesn't include one.
How to Size and Fit a Pack
Once you've chosen your must-have attributes and figured out what activities you'll pursue, the last and most important step is fit. Ideally, you want most of your weight sitting on or close to your hips. Therefore, it is imperative that the pack you buy fits your torso. Most daypacks come in one or two sizes. Choosing the correct size is not as important as with a backpacking pack, but it is still a factor to consider. Make sure it will be comfortable.
Measuring Your Torso Length
You'll want to measure the length of your torso to make sure the pack will fit on your back. To measure your torso, use a flexible tape measure. Stiff construction measuring tapes tend to complicate this task but can get you close. Grab a friend for this measurement, and have them locate the first large bony bump at the base of your neck. This is your C7 vertebra. The C7 is easiest to locate if you tilt your head forward and will be the top of your torso measurement.
Then, locate your iliac crest, which is where your pack will hold the brunt of the load weight. With your hands on top of your hips, fingers wrapping around your pointy pelvic bones, point your thumbs to your spine. This marks the iliac crest and the base of your torso measurement. Have your friend measure between your C7 and the spot between your thumbs. Compare this measurement with the size range of the pack you are eyeing.
Sizing between different brands is not always the same. Size small in one brand isn't the same as in another. Some daypacks are also slightly adjustable and can accommodate a range of different torso lengths rather than only one size. This makes these packs even more versatile and comfortable for many users.
Hip Sizing
Hip belt sizing is surprisingly important for pack fitting. A properly fitting hip belt will sit squarely on the top of your hip bones and will keep a backpack from pressing in on your butt. Padded hip belts should wrap around at least just in front of the midpoint of your latitude line, and the pads should not touch when the hip belt is fully cinched down on your waist.
Measure around your hips at the top of your iliac crest. (Your hip belt size will differ from your pant size.) To figure out this measurement, wrap your tape around your hips, making sure that it sits on top of your hip bones. Most of the hip belts found on daypacks are thin straps or webbing-like material. Some of which are removable and most are not padded. These serve more to help secure the load from moving instead of helping to carry the load.
If you are struggling or are unsure about any of this, your local outdoor retailers should have staff prepared to assist you. A professional measurement will ensure that you will get a well-sized pack. Also, if you're looking at an Osprey pack, they have a comprehensive guide that may help you take this measurement on your own.
Adjusting Your Pack
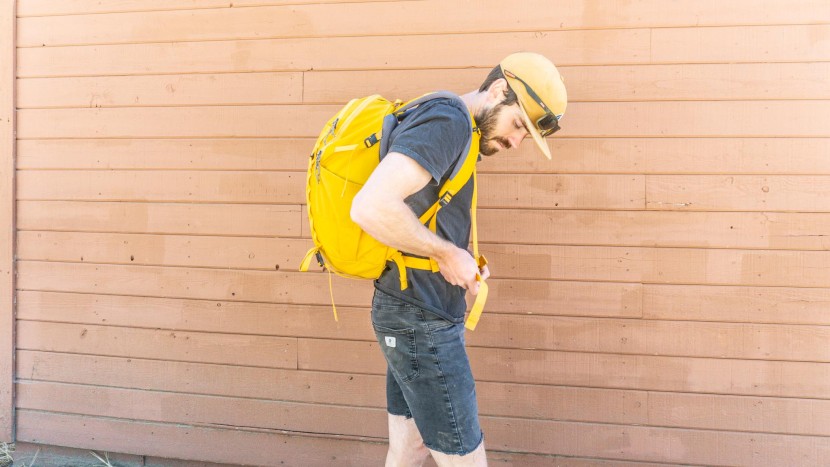
While some daypacks may not have as much adjustability as a backpacking pack, some do. It is important to adjust your pack every time you throw it on your back. Double-check that the load is situated and comfortable on your body.
You'll want to start by loosening all the straps, including the hip belt. Make sure the pack has a load that represents what you see yourself carrying in it, and that the compression straps are fully cinched down. Then, place the pack on your back and follow these steps:
Hip Belt
First, you'll buckle the hip belt and tighten it. Make sure it straddles your hips, and that the padded sections, if any, wrap centered over your iliac crest.
Shoulder Straps
Next, you'll batten down the hatches with your shoulder straps. By doing so, your straps should hold the pack close to your body, but not carry the weight. The anchor points should sit one to two inches below the top of your shoulders.
Load Lifters (if applicable)
Many daypacks have “load lifters” that help take the pressure off your shoulders. They suck the pack into your back. The straps are near your collarbones and should angle back and up toward the pack at a 45-degree angle. They work to pull the weight off of your shoulders. Gently tighten these straps, but take note that over-tightening them will create a gap between your shoulders and the shoulder straps.
Sternum Strap
Most daypacks come with an adjustable sternum strap. Slide this up or down on the shoulder straps to find a comfortable height on your chest. Take a deep breath, then cinch down the sternum strap until it's just snug to ensure it doesn't impinge on your breathing. These straps pull the shoulder straps inward to a pleasant position on your shoulders, but make sure your arms are still able to move freely after this is tightened.
Last but not least, you may want to tweak a few things to make sure your load is equalized. Your body is rarely happy with a pack on your back, but it shouldn't be screaming. Your daypack may be equipped with stabilizer straps on either side of the hip belt. These allow you to bring the pack even closer to your body, creating greater stability for the load. You can also loosen the tension in your shoulder straps just a smidgen to ensure that your hips carry the majority of the weight.
Other Uses for Daypacks
The primary appeal of daypacks lies in the fact that they are so versatile. Few other products can transition smoothly from the outdoors to the office. These are the types of packs that can go with you anywhere, from a short shady hike to an afternoon reading a book on the beach, to a stroll to the grocery store. We evaluated these packs for their usefulness on day hikes. There are several other reasons you may want to consider a daypack.
Ultralight Backpacking
Backpacking gear is getting lighter and more compact. The trend is to take less and lighter gear. If you are the type of backpacker who carries a ultralight sleeping bag and ultralight tent, you may find that you no longer need a standard top-ranked backpacking backpack. When your entire pack (without food and water) weighs less than 12 pounds, often a day-specific pack will work, or you should consider a lightweight pack.
Personal Item
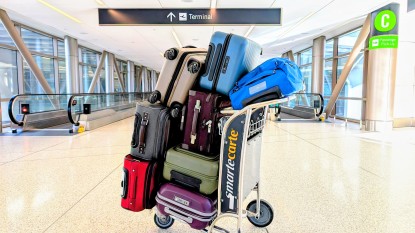
With checked baggage fees rising, many are looking to pack for trips using only carry on luggage. One great way to accomplish this is to use a large “personal item” in combination with your carry on bag. Many of the small packs reviewed meet airline requirements for a personal item. We advise double-checking guidelines before you buy.
Carry On Bag
While a carry on bag beats checking luggage, one step above it is a bag that fits under the seat in front of you. The larger packs reviewed can substitute for your carry on luggage and can be compressed enough to slide under a seat. That said, we prefer to bring a top quality laptop backpack because they are more stylish and better equipped to protect your computer. For example, our founder, Chris McNamara, used a hybrid between a laptop backpack and a daypack for his trip to see the New Seven Wonders of The World in 13 days. With so many tight flights, the trip was only possible because he used a day-specific pack instead of a carry on.

