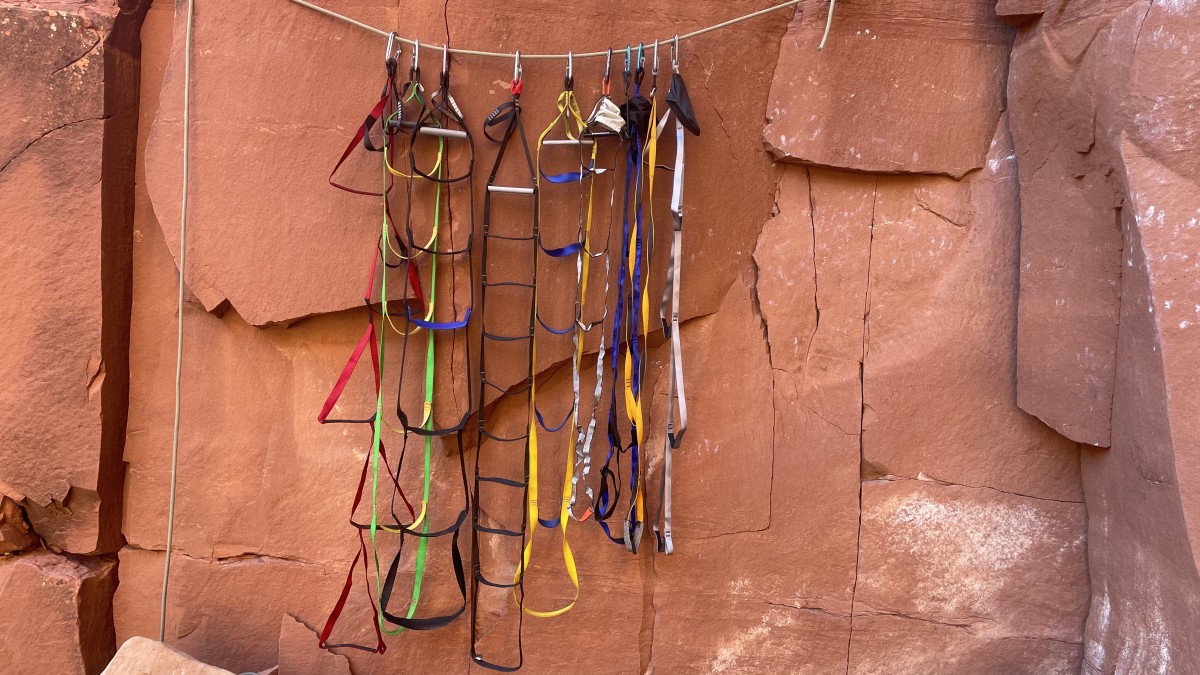
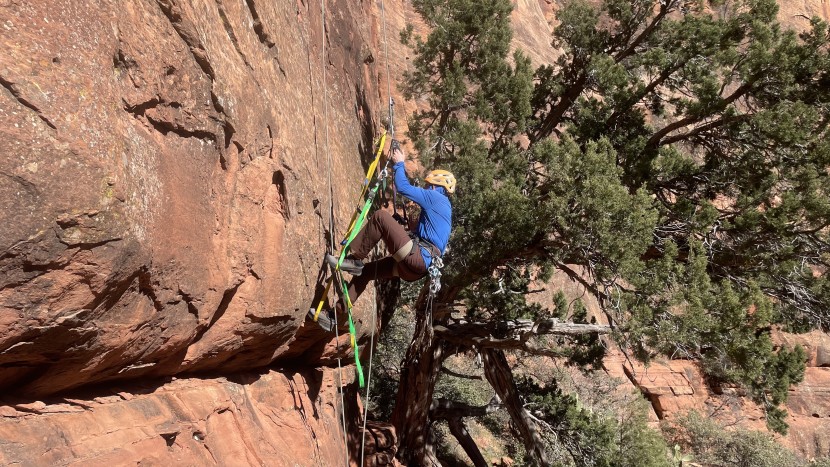
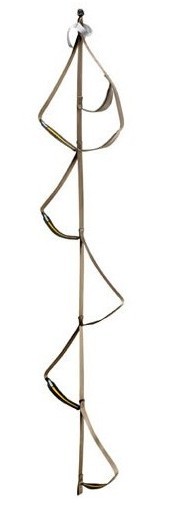
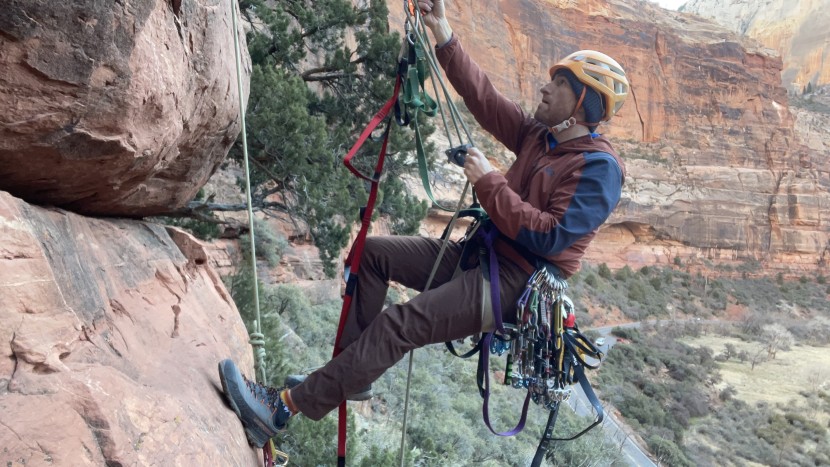
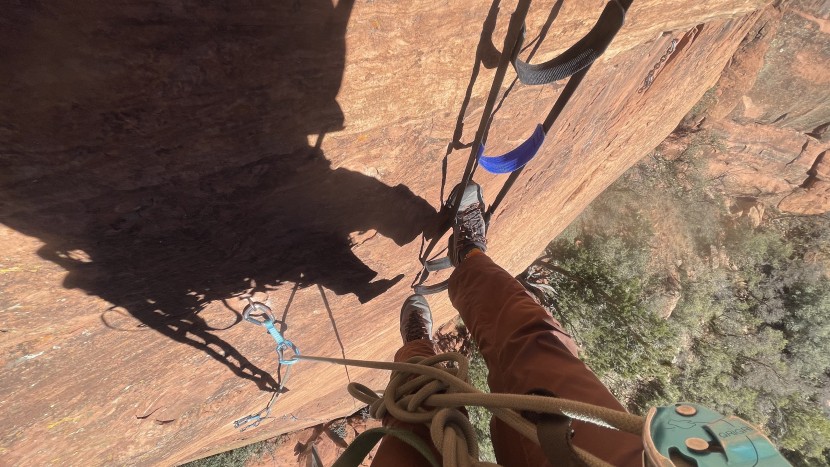
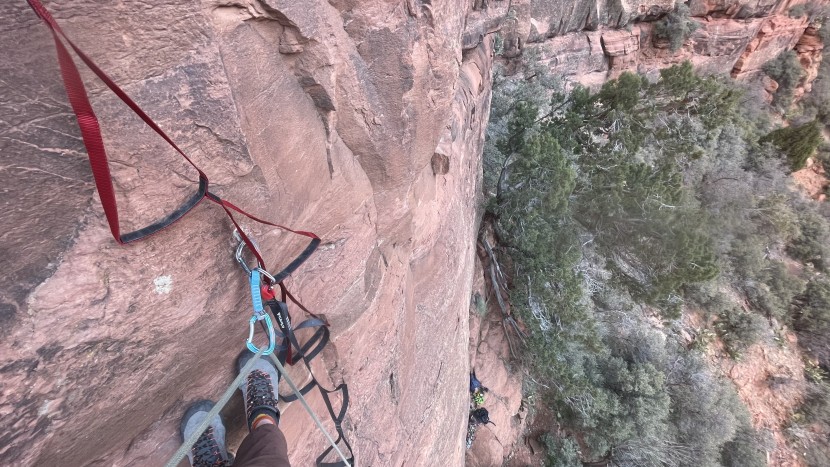
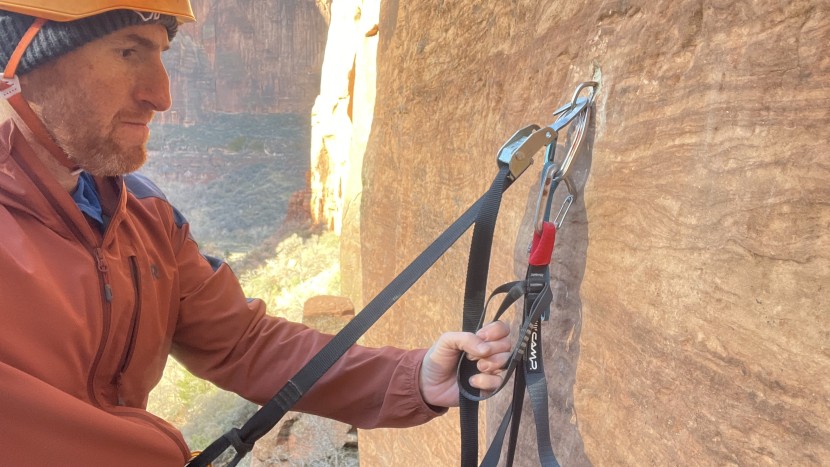
Aiders and etriers are critical tools for aid climbing, and there are plenty of options to choose from. Both terms generally refer to the same piece of equipment: nylon steps that you walk up as you lead while aid climbing. Aiders are the key differentiator between aid climbing and free climbing. When free climbing, the gear is just for protection. In aid climbing, you place protection, clip an aider to it, walk up the aider, reach up, place another piece of protection, and repeat. As a result, you are usually spending most of your time in aiders on a big wall route.
Types of Aiders
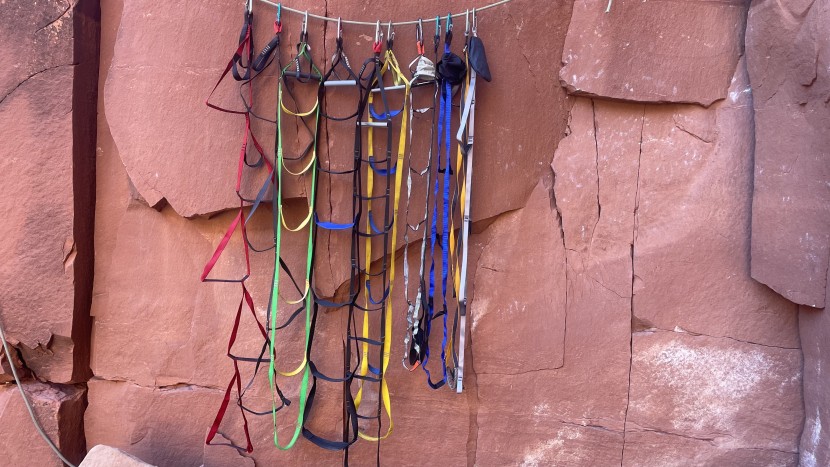
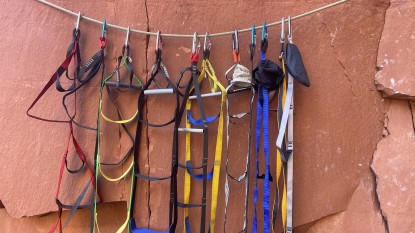
There is no one-size-fits-all aider – what you buy will depend on the type of route you're pursuing. But to generalize, there are three main types of aiders:
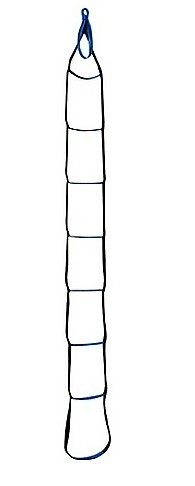
- Ladders, with vertically oriented steps
- Etriers, with alternating steps
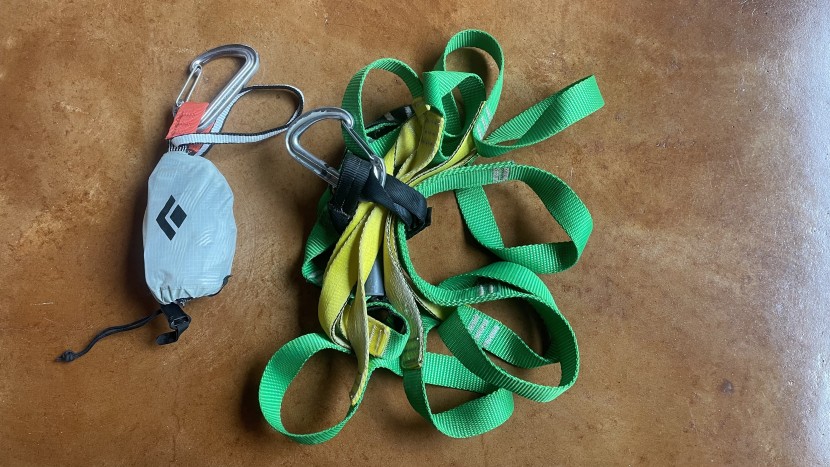
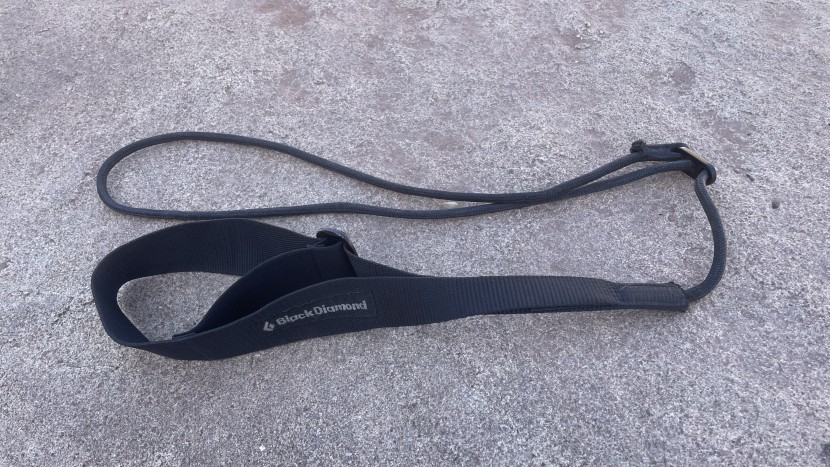
- Pocket Aider, that packs into a storage pouch
Ladders
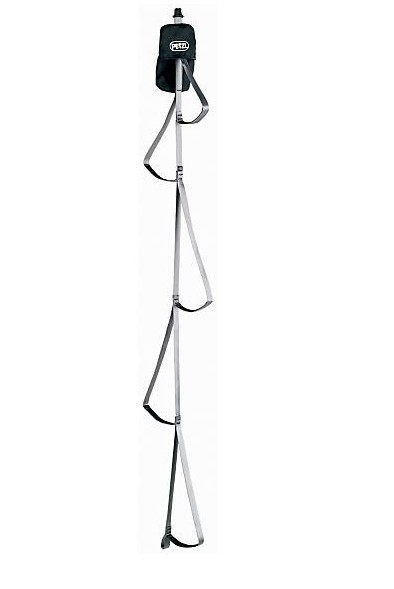
These are the best options for more aid-intensive walls, such as Zodiac, The Prow, or The Shield. Ladders have become the go-to aider, as they are much less prone to twists – or “going inside out” – than the more classic etrier. You also don't have to orient the step to the correct side when you are stepping into it. This is especially helpful for beginners, which makes this style aider the best for climbers learning to aid climb. Along those same lines, because the steps are closer together at the top, you can often rest two feet in the aider at the same time.
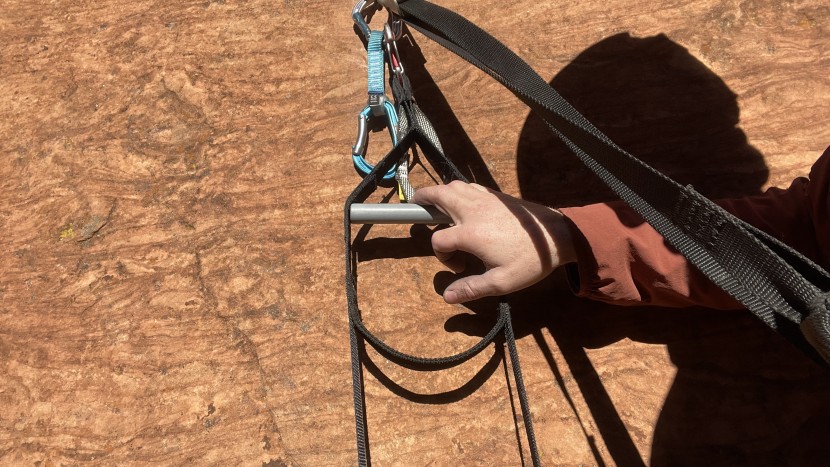
The downside for aid ladders is that they are a little heavier than etriers and generally have more material. They are more likely to get stuck in cracks and on knobs, which is a terrible feeling, especially when you have to bust one final free move to clip the anchor after a long aid pitch. When buying a ladder-style aider, try to get one with a beefy plastic spreader bar at the top. Without a spreader bar, the aider will be difficult to walk up once you weight the bottom step.
Etriers
This is the most classic type of aider. This style of aider is often preferred on walls with lots of free climbing (The Nose, South Face of Washington Column, Touchstone Wall) over ladders because it is lighter weight and less bulky – both important considerations for when you clip it to the side of your harness to free climb. The downside is that it tends to twist, the steps turn inside out easier, and you always have to orient them properly (left foot into a step oriented left of center). That declustering time adds up over the course of a wall and can really disrupt the flow of an aid climb. We appreciate models where the top two steps include sub-steps, which make it easier to adjust foot positioning if necessary. The webbing should be at least one inch wide and have some type of reinforcement on the bottom of each step, and there should be a grab loop at the top.
Pocket Aiders
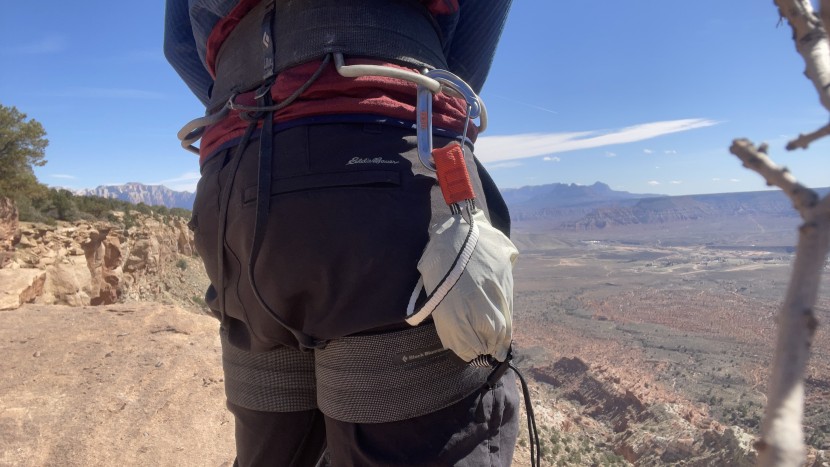
This style of aider is best for mostly free routes where you occasionally need to use aiders. These models are ultra-lightweight and pack away into a convenient pocket to stow them out of the way on your harness. But they often are built of thinner webbing, which is much more uncomfortable if you're standing in them for more than a few minutes. If we're climbing The Nose in a day, we will usually bring one of these and one mid-weight aider. But these are more specialty pieces of gear and generally are a bad choice for learning to aid climb.
Comfort
The most comfortable aider is going to be the one with the widest webbing in steps with the most reinforcement that does not crush your feet from the side. We find aiders with urethane-like coating on the steps usually the most comfortable because the extra structure digs into the bottom and sides of your foot less.
Ease of Use Free Climbing
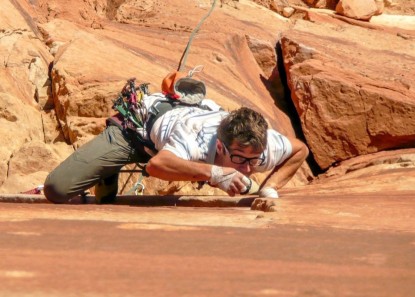
Everything that makes an aider comfortable and easy to walk up also tends to make it cumbersome with which to free climb. This is because the features that make an aider comfortable also make it bulky and likely to get stuck in cracks. When doing a lot of free climbing, you want an aider that bunches up small on the sides of your harness.
Length and Number of Steps
If you climb wall routes that mostly involve free climbing and have only a few easy aid pitches, shorter aiders are preferable because they are less bulky while clipped to your harness on free pitches. For predominantly aid routes, longer aiders are nice because they are more versatile for bounce-testing pieces and leading traversing terrain.
When considering length, it is much more important to look at the overall length than the number of steps. All manufacturers count steps differently, and it is possible to find a 7-step ladder that is shorter than a 6-step one. More important than the number of steps is where they are located. If possible, you want to try walking up a pair of aiders with your harness and Fifi hook so you can see if the aider steps are where you want them when resting on a piece.
Features
There are a few key features to look for when choosing an aider. Regardless of style, it's important to have a grab loop at the top. While almost every aider on the market includes one, not all of them are full-strength rated. For ladder-style aiders – especially full-sized ones – it's important to have a spreader bar. If you're going to haul a ladder up extensive aid climbs, you want to make sure it's comfortable to stand in and walk up, and a spreader bar helps keep the steps evenly spread apart.
It is not as important for there to be a loop at the bottom of the aider for clipping a weight. Many manufacturers design this for high-wind situations, but our test team has climbed in a lot of high winds and has never felt the urge to use this feature. It's also not necessary to have an extra elastic to help with foot retention. Yes, at first, your feet will come out more than you like when cleaning. Using the elastic takes extra time and makes it harder to get your feet out when you want to, and over time, you will develop the proper technique.

