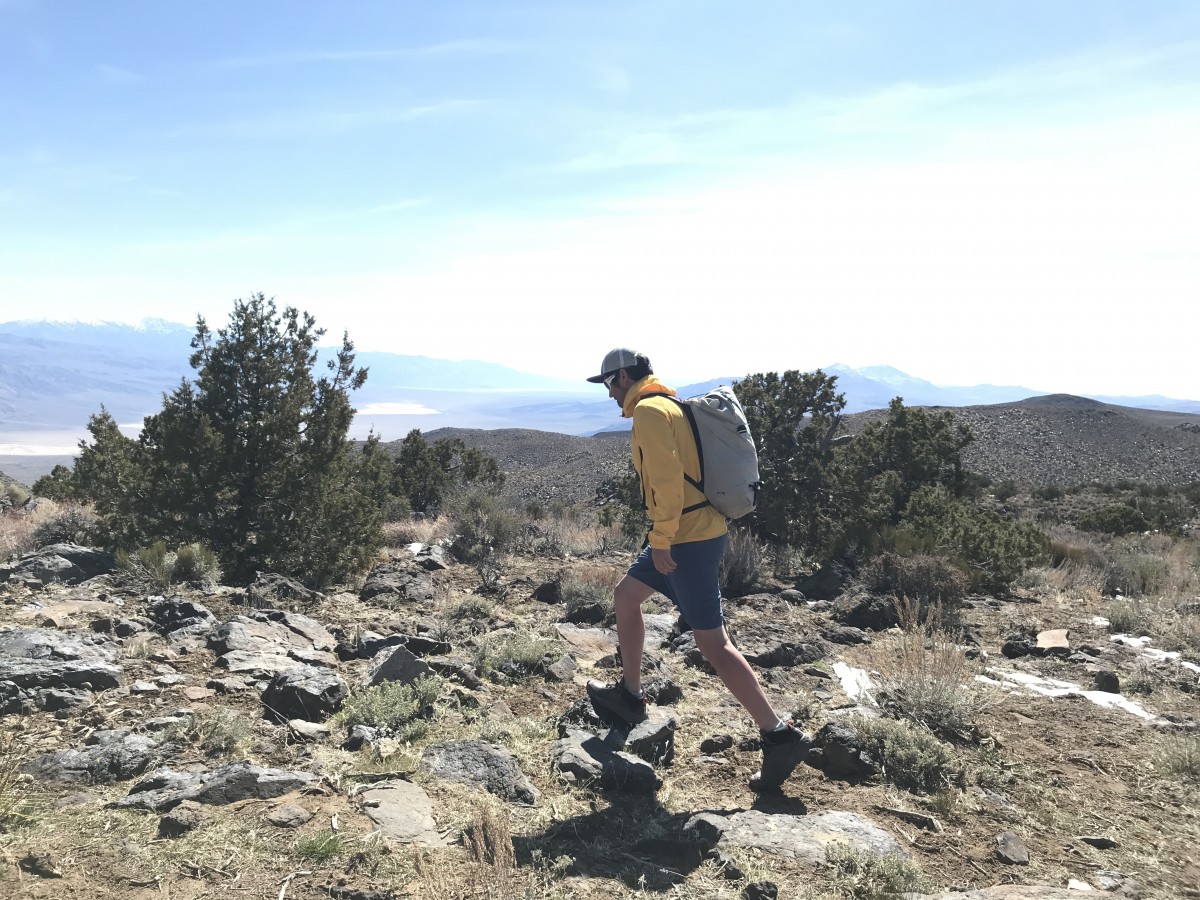
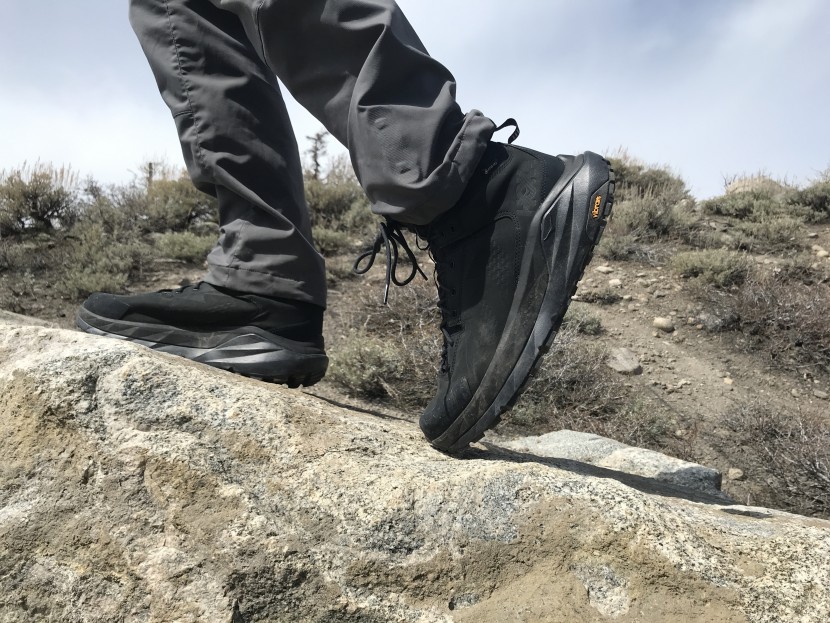
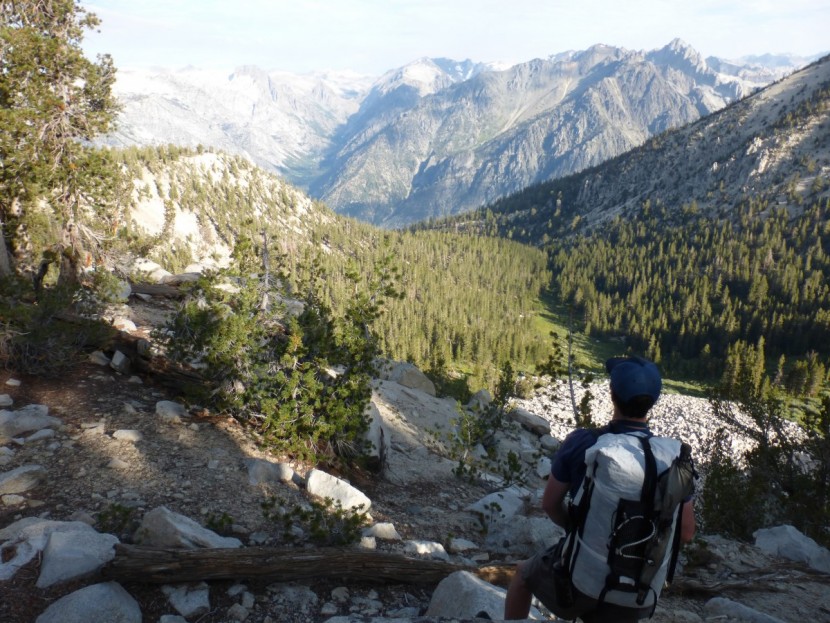
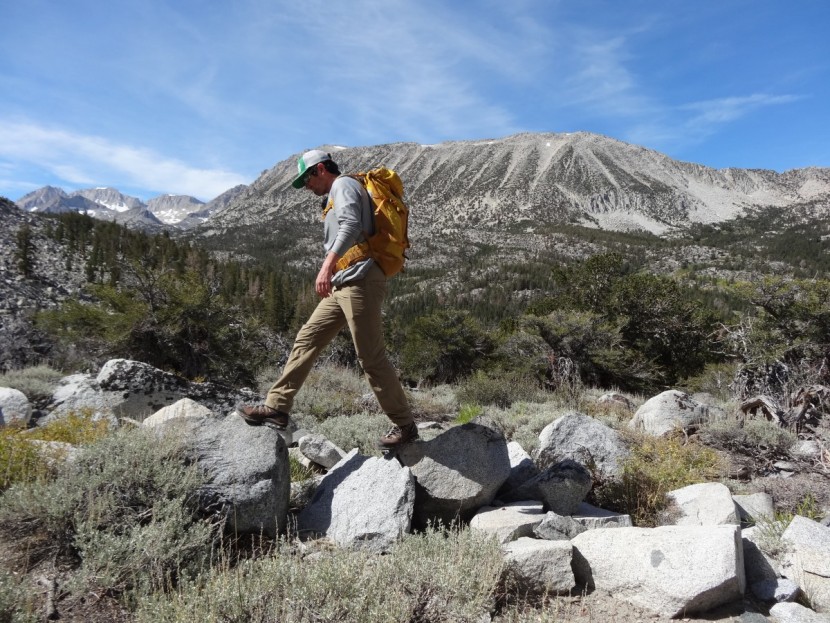
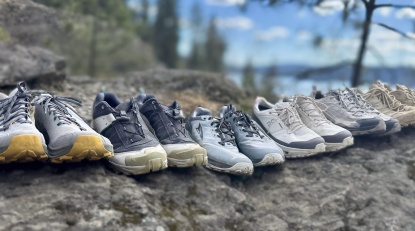
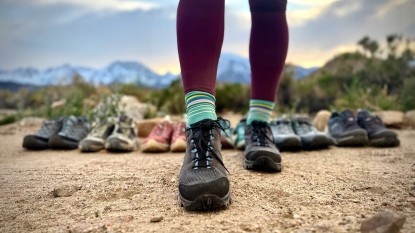
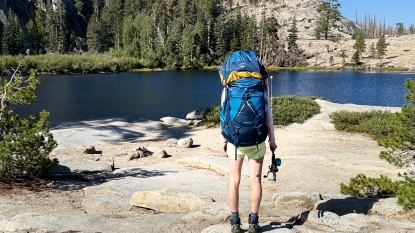
"I am just getting into hiking - do I need hiking boots?" This seemingly simple question opens up a number of follow-up questions about the style of hiking you plan on doing and where you plan on doing it. Answering that will help you decide on the right hiking boots for you, as the field of available models is huge and overwhelming. The lightweight thru-hiking gurus will try to steer you towards a pair of lightweight trail runners to tackle something as large as the Pacific Crest Trail, and the old guard may try to encourage a durable, full-grain leather boot that extends halfway up to your knees, but the reality is that you probably want something right in the middle of that range. So let's jump into what goes into choosing the perfect hiking boot.
Why Choose a Hiking Boot?
There exists a large range of footwear that may be considered appropriate for hiking. That could include simple, lightweight trail runners for a casual local day hike and extend all the way to heavyweight leather boots that weigh in excess of 4 pounds. Generally speaking, we want to choose the lightest and most comfortable footwear that can also provide the needed support and stability for your intended hiking style. Our authors generally prefer the flexibility and lighter weight of a hiking shoe for most applications but reach for a pair of taller and more supportive boots when carrying your favorite backpacking backpacks over 30 pounds or traveling over rough and uneven terrain.
If you are venturing away from the trail and traveling overland, accepting the extra weight of a pair of more supportive hiking boots is well worth it. Not only will these heavier boots often relate more support so that you don't roll your ankle, but they will also have thicker and more protective soles that keep you from feeling as much of the terrain underfoot.
Advantages of Boots
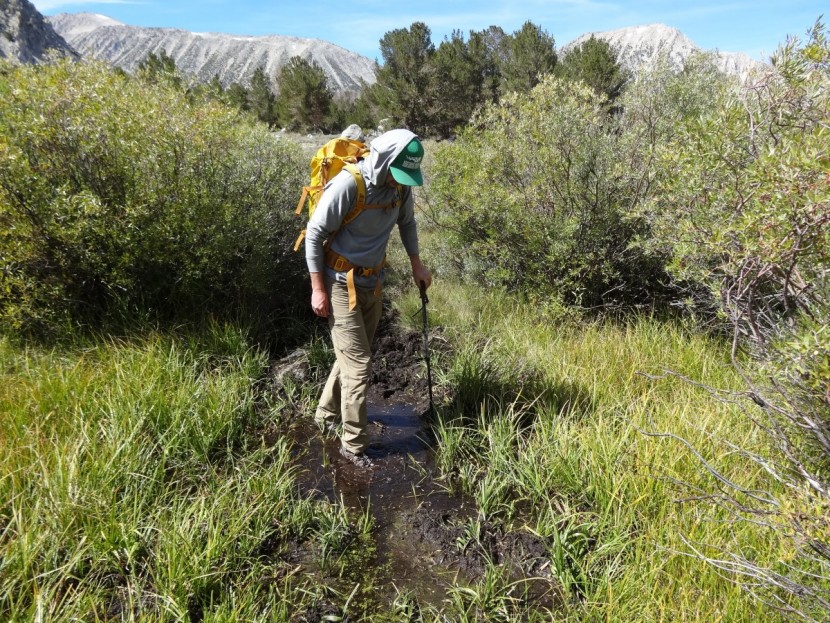
Hikers with concerns about twisted ankles or previous ankle injuries will want a stable, supportive boot. Hiking boots are generally more durable and provide better foot and ankle protection on rough, rocky trails. They range from mid to high-cut and often have a stiff shank incorporated between the midsole and outsole. If you hike on slippery trails with lots of roots or other obstacles, boots are the ticket. They will also keep your feet dry and comfortable when the trails are inches deep in mud or slush. Traveling off-trail in rough terrain demands boots, and in areas where snakes and other critters lurk, footwear that covers the ankle provides additional peace of mind. While your mental image of hiking boots might be hot and heavy, all-leather behemoths that take five years to break in, modern hikers utilize new technologies to provide similar protection and stability to the older models at a much lower weight and increased comfort.
Types of Men's Hiking Boots
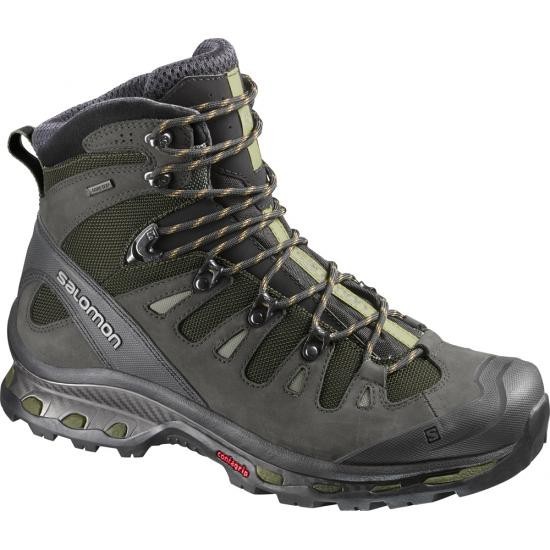
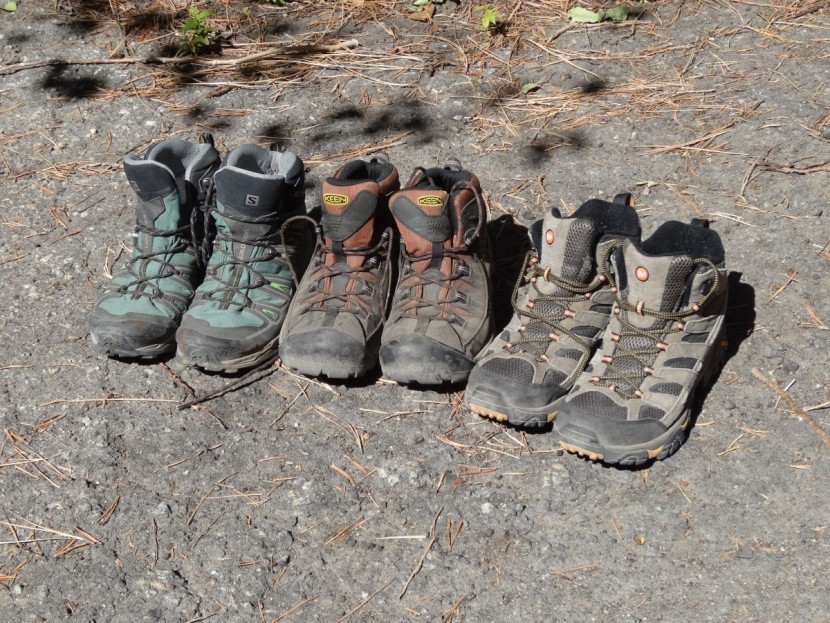
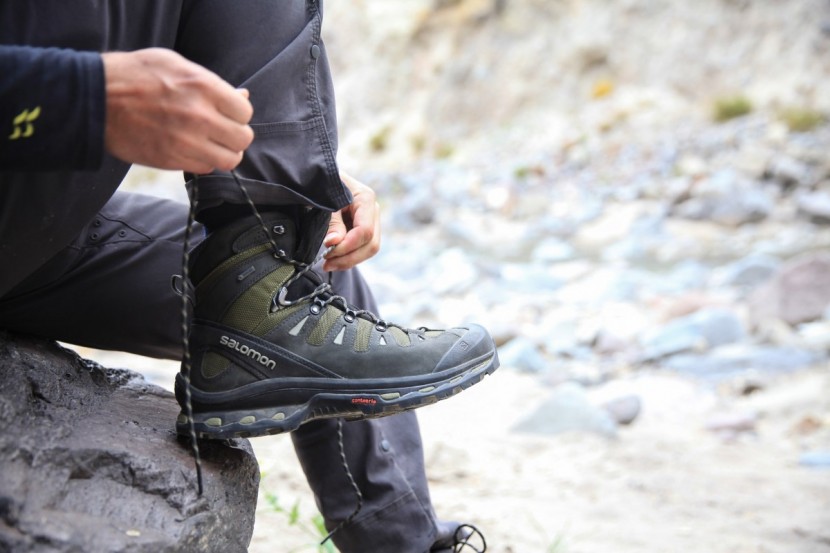
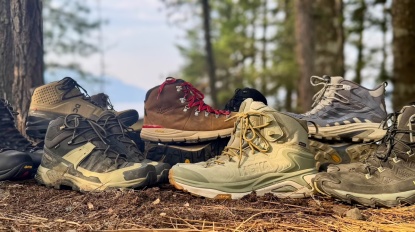
Hot weather day hiking? The Merrell Moab 2 Ventilator Mid, at 2.4 lbs, is incredibly lightweight and breathable but offers meager performance in support, water resistance, and durability. If you are hiking predominantly in hot and dry climates, the lack of waterproofness will allow your feet to breathe better and will allow the boot to dry faster. Powering out miles day after day with a heavy pack in the soggy North Cascades? The Salomon Quest 4 Gore-Tex, weighing about 3 lbs, is stable, durable, and extremely waterproof, but isn't nearly as nimble. While we consider both of these models to be “hiking boots,” they occupy complete opposite ends of the spectrum and are noticeably different from each other.
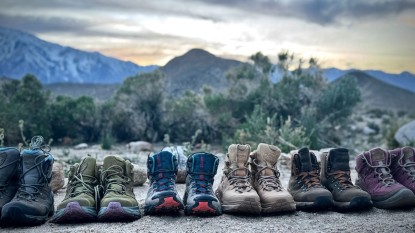
Hiking boots are commonly categorized into three groups — lightweight, midweight, and heavyweight categories — according to their weight, ankle stability, and the foot support provided. This classification system is a helpful starting point for finding the appropriate type of boot for your hiking needs.
Today's hiking world seems to be trending toward lightweight boots, as heavyweight boots are now seen much less frequently on trails. As the technology for boots and backpacking gear, in general, becomes more weight-efficient, the need for big and burly boots is decreasing. Even some midweight hikers are advertised as “lightweight” by their manufacturers in an attempt to fit this inclination. Our selection of boots for this review includes the most popular lightweight and midweight hikers to reflect this market trend.
Outsole- This is what most people think of when they hear sole. It is the outermost layer of the boot sole that comes in contact with the ground. It connects with the upper via a rand that wraps around the sole.
Midsole- This is the layer of material between the rubber sole and the inner material of the boot, which reduces impact and shock.
Insole- Also known as a footbed, this removable insert helps with arch support and shock dampening. These can be replaced with aftermarket products for a better fit.
Upper- This is the material that covers the toes, top, and sides of the foot as well as the heel. Historically made from all leather, most modern hiking boots are made from several pieces of either natural or synthetic materials.
Lightweight Hikers
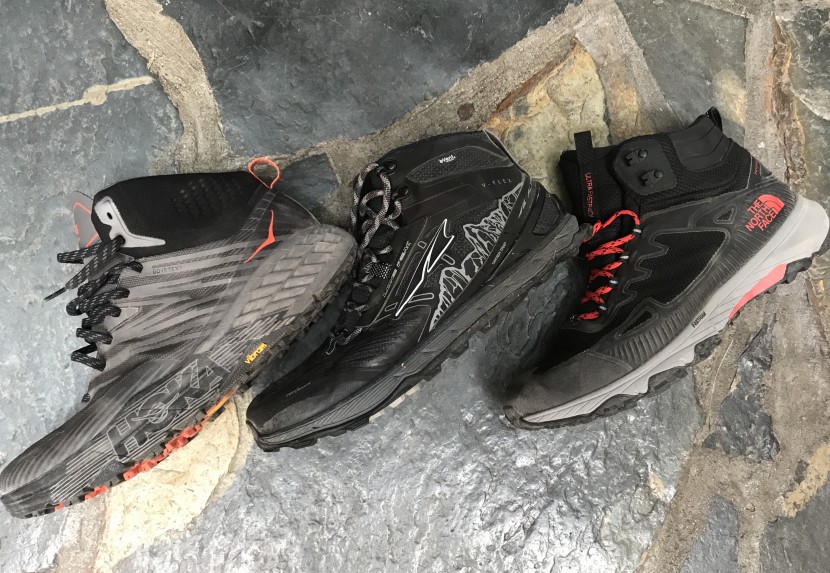
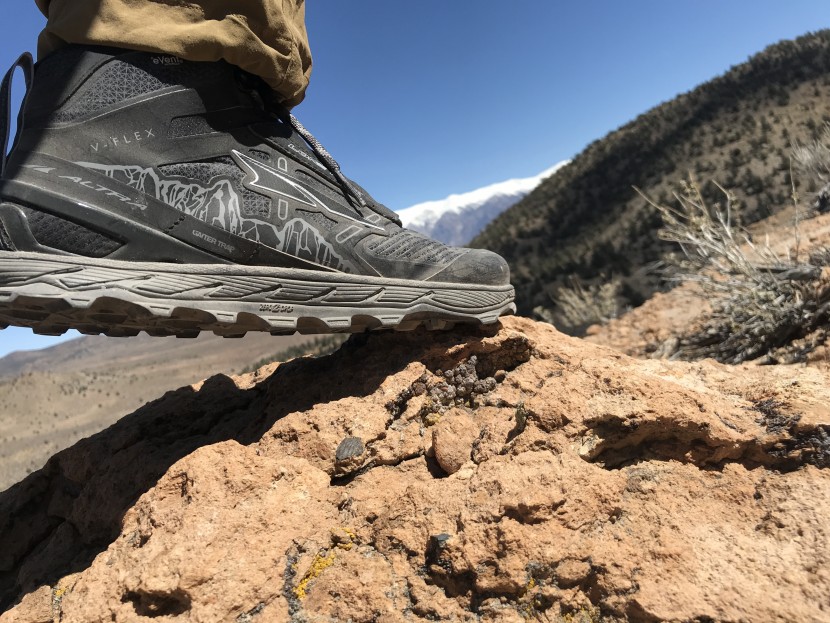
As the improvements in technologies and materials continue to lighten the boots at the heavier end of the spectrum, the boots at the lighter end just keep getting lighter as well. Made now from almost entirely synthetic fabrics, these boots generally have lower ankle heights, do not use a rigid shank for torsional stability, and have thinner fabric uppers that may include quite a lot of mesh in order to shave weight. The lightweight boot category now stretches to include the ultralight “fastpacking” style boots, which may look and feel like a slightly taller trail running shoe, to the cusp of the midweight category where we find beefier soles, more ankle support, and thicker, more durable materials.
Lightweight hiking boots are best suited for a lighter pack weight or for those who typically hike in a hiking shoe but would prefer a bit more support.
Midweight Hikers
These have more substantial construction: higher ankle collars, burlier midsoles and shanks, and heavier, more durable uppers, often all leather. More than the traditional backpacking boot, these models provide increased ankle stability and foot support for carrying loads and traveling rough terrain. Planning to be out and about for many days carrying all your gear? Most of the boots that are featured in this review fit into the midweight boot category. We feel that this is where folks should first look when choosing a backpacking boot, as a happy medium between the ultralight comfort of a lightweight model and the stability of a heavyweight behemoth.
Heavyweight Hikers
These boots are much heavier, much more durable, and supremely waterproof. Full-grain leather uppers, paired with burly TPU midsoles that focus on support rather than lightweight cushioning, create boots that handle the roughest terrain. As backpacking gear continues to get lighter and lighter, the utility of heavyweight hikers is diminishing. We have not reviewed any heavyweight models this year, as many manufacturers are phasing them out as they are becoming less popular with the improvements in materials that allow for stiffer and more supportive boots at a moderate weight. Those who are looking for a hiking boot that can double as a work boot for applications such as working on a trail crew may still find the benefit in this increase in bulk and weight, as this will indeed provide more foot protection.
Each of these products is one we would recommend to a friend for a particular need. In our individual reviews, we discuss which activities each product is best suited for. While some of them, especially the Salomon Quest, will excel just about anywhere you take them, others are terrain specialists.
Waterproof membrane or not?
Almost all of the products we tested for this review have a waterproof, breathable membrane. Many are also available in a version without a waterproof membrane. Do you mostly hike on dry trails and avoid bad weather days? If so, the added breathability of a model without a membrane will be more comfortable and cooler in warm weather. Do you splash through puddles and mud and get out there rain or shine? You need waterproof footwear. Waterproof, breathable membranes will also increase a product's warmth if you hike when it's cold out.
Weight
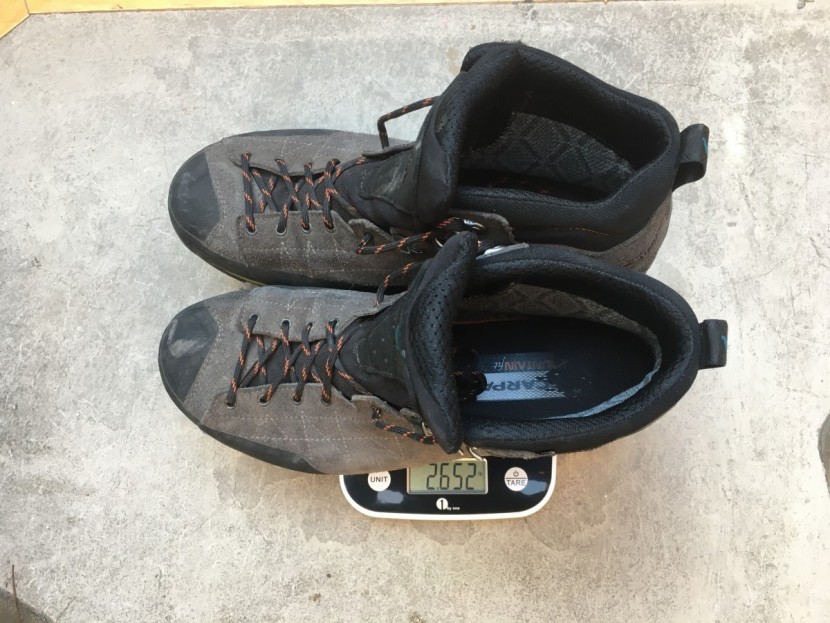
All else being equal, light is right. The adage that a pound on the foot is like five pounds on the back rings true, and you will definitely notice the added weight after a long day. However, your legs, ankles, and feet might not be ready for lighter footwear. Heavier models generally provide more stability and are more durable. Once you've identified how much support you need, try to choose the lightest option available that you feel meets your needs and fits your foot well.
Traction
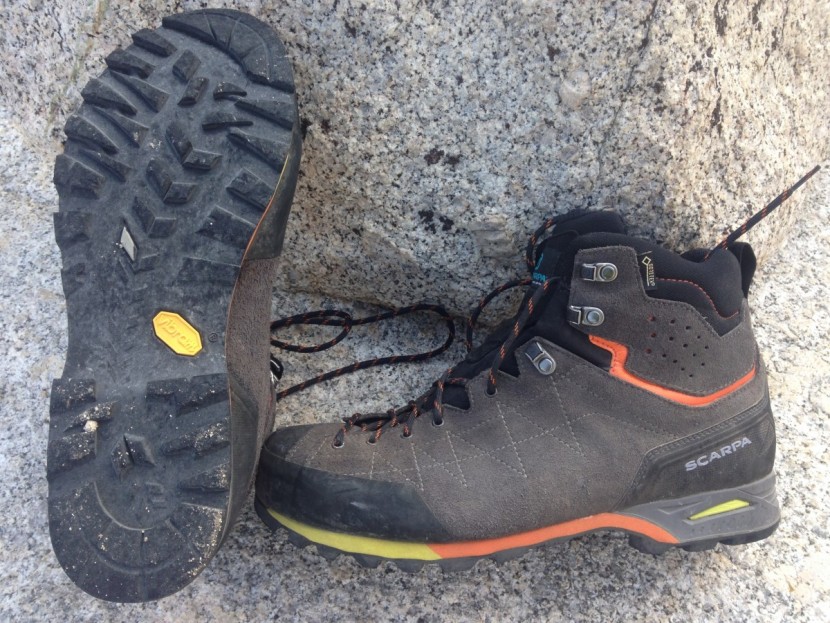
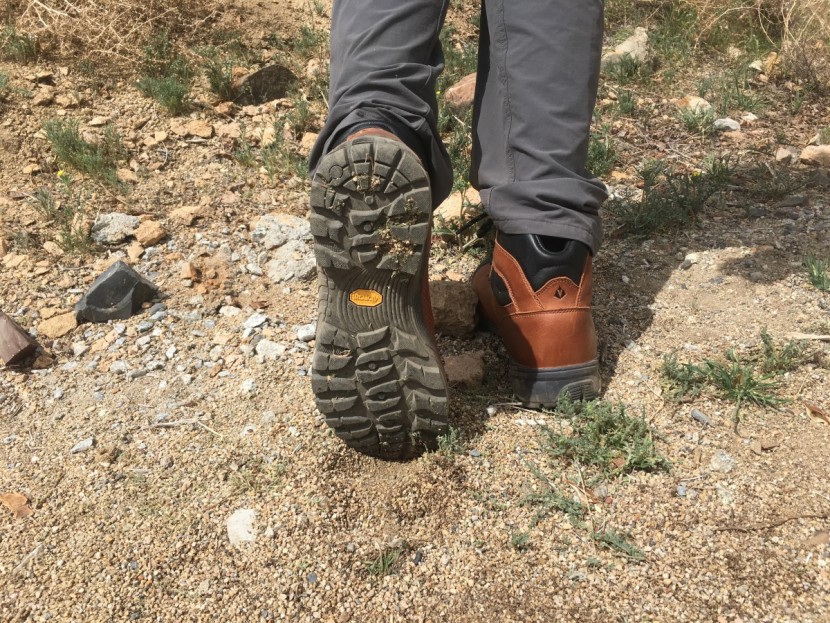
One of a hiking boot's primary jobs is to keep you from sliding around whether you are on or off the trail, and to do that; they are equipped with an outsole covered in knurled knobs of rubber called lugs. The arrangement of the lugs has a lot to do with how well the boot will perform. Shallow and wide-shaped lugs will lead to a tread pattern much more conducive to smooth terrains like sandstone or granite slabs, thanks to an increase in surface area contact between the boot and the rock. Deeper, narrower lug patterns, especially those with a jagged set of perimeter lugs, will give the boot better traction in loose conditions. Whether wet or dry, the deep lugs will bite into the trail more effectively, and the outer tread will allow you to confidently kick into slopes to gain purchase.
Fitting & Finding Your Size
There is no substitute for trying on many pairs of boots to find the one that fits the unique shape of your foot. Some manufacturers' footwear tends to fit narrow or low-volume feet better. Other manufacturers, like Merrell, tend to fit wide feet well, and the Keen Targhee II Mid has a wide option. Find your local outdoor retailer and try on as many models as possible. Experiment with different sock combinations. Ask to have your foot measured with a Brannock device, which measures both the length and width of the foot. This device, in the hands of an experienced shoe fitter, provides a perfect starting point for sizing your boots.
If you do not have access to a local retailer, visit the manufacturer's website. Many provide instructions for fitting their footwear. Other manufacturers offer advice on the sizing of various models relative to your commonly worn size. For example, Keen's website has this Fit Tip for the Targhee II: "This style is running a 1/2 small. We suggest ordering a 1/2 size larger than your usual size!"
When sizing a boot, first check that there is enough room inside. Your toes should not touch the front of the toe box when laced up. With the shoe on your foot and all the lacing loose, slide your foot forward so that your toes actually do touch the front of the toe box. You should be able to just insert your index finger between the heel of your foot and the back of the boot. That's about 1/2 to 5/8 of an inch. The most important bit here is to try on the boots with the type of socks you plan to wear. If you have orthotics or plan to use Superfeet or another pair of our favorite insoles, try your boots with these, too. If you feel uncertain, and many people find they are between two sizes, choose the larger size. Most of us experience minor swelling in our feet after a long day of hiking. If you have a boot that is too small, there's very little you can do to change that.
Fine Tuning the Fit
Do not be afraid to experiment to fine-tune the fit of your boots.
Experienced hikers sometimes replace the stock insoles in their footwear with Superfeet or add a thin insole in addition to the stock insole. Changing up the insole or adding a thin one underneath is a great way to make your footwear fit a bit more snugly. Don't be afraid to mix and match the insoles from your outdoor footwear. One of our testers often replaces the insoles in his running shoes with the ones from his hiking boots and adds thicker-than-stock insoles to his hiking boots. As you might guess, he has low-volume feet, and this trick makes his shoes and boots fit a little more snugly.
Some hikers prefer a polypropylene liner sock and a thick wool sock in all their boots. This has been a traditional approach to avoiding blisters. Other hikers prefer a snug-fitting boot with a thin wool sock. Once you start wearing your boots, try a few socks to find out which one works the best for you. Models that initially fit well with a thin sock may require a thicker sock for the same fit after you put some miles on them. We highly recommend trying out some hiking-specific socks inside your hikers. This hiking boots review was completed almost entirely in socks consisting of merino wool/nylon/elastane materials for improved breathability, wicking capabilities, and temperature regulation. For full descriptions and comparisons of socks to pair with your boots, check out our complete review of hiking socks available.
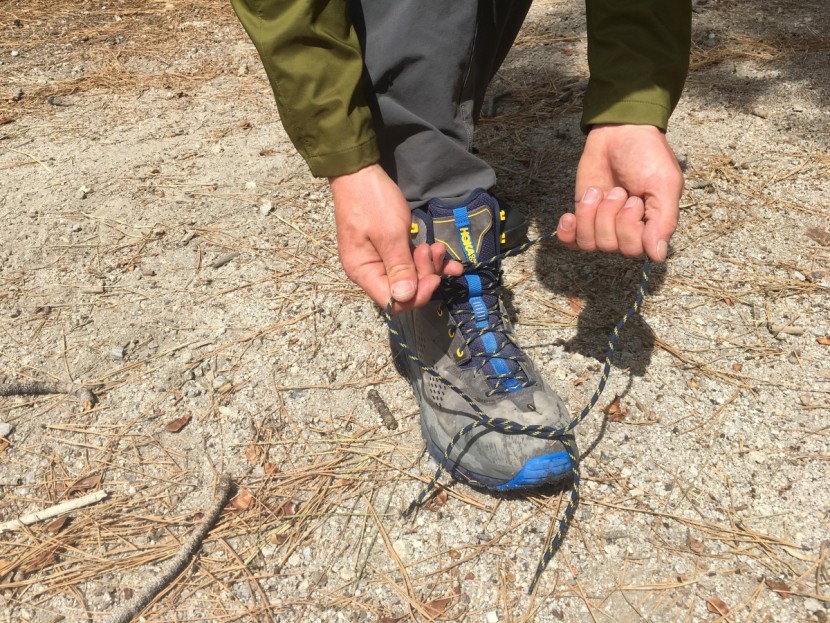
One of the more advanced fine-tuning tips applies to lacing. Many products now use eyelets that provide a positive lock on the lace. The Quest 4D has locking middle eyelets that let you lace the lower boot tight and the ankle collar loosely, or just the opposite. Some hikers employ a Heel Lock tying technique to snug up the heel cup, reducing slippage in the heel. The Targhee II has a special eyelet that also tightens the heel cup. For models that do not have locking eyelets, you can achieve the same results by using multiple laces. You can also tie a friction-based Surgeon's Knot (just double or triple the basic overhand loop you likely use when tying your shoes normally) after snugging up the lower foot, which will isolate the lower part of the lacing system from the top. This allows you to then lace through the middle and upper eyelets and cinch up the ankle collar tightly without squeezing your lower foot tightly. You may need longer laces or two pairs of shorter ones to accomplish these tricks. Have fun experimenting; your feet will love you for it!
Care and Feeding
Some actions increase the life expectancy of your hiking boots, from routine cleaning to pre-treating known wear areas.
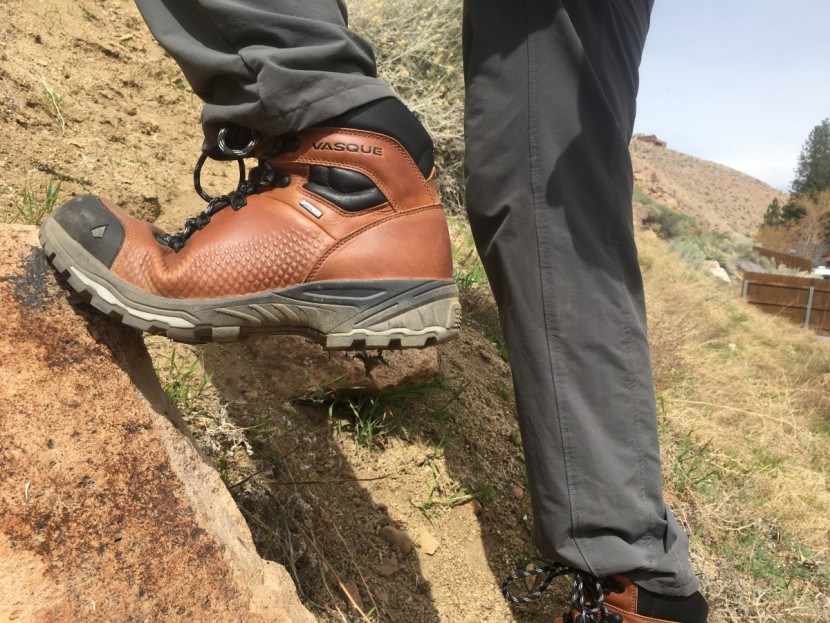
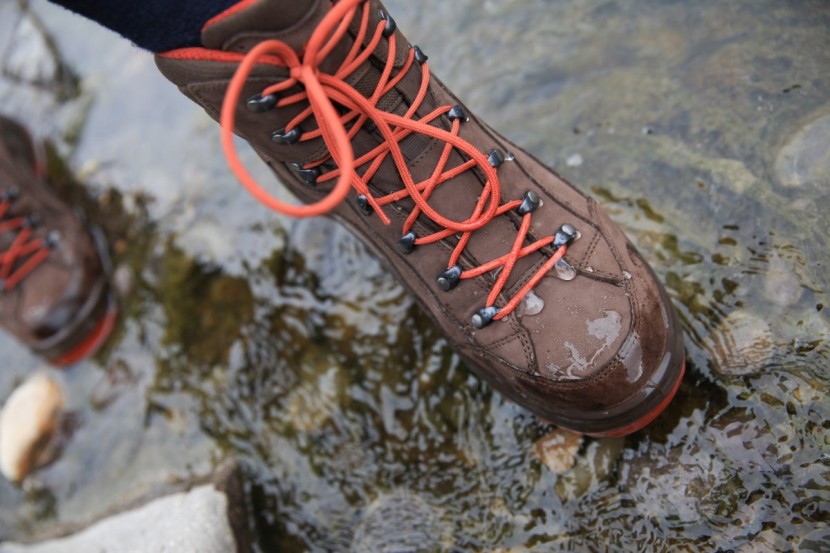
Leather hiking boots benefit in waterproofness and durability when a leather treatment is applied. Leather uppers benefit from a leather treatment. While the GORE-TEX membranes keep your feet dry inside, the leather on these products soaks up water. This not only makes your boot less breathable and more cumbersome but repeated wetting and drying cycles cause the leather to become less supple over time.
Nikwax offers a complete line of leather and fabric conditioners, including products for suede, nubuck, and full-grain leather. These come in spray-on versions or in liquid versions that are applied with a sponge. Atsko SNO-SEAL, a beeswax-based waterproofing for leather, is time-tested and works great. Apply it by rubbing it on, then gently heating it with a hairdryer to melt it into the leather. Leather conditioners need to be reapplied every few months to yearly, depending on how many miles you put on your footwear. Nikwax products that are designed for synthetic fabrics work well on lightweight hikers that have mixed material uppers. Using a fabric treatment that maintains the DWR of synthetic materials on the upper means they absorb less water, remain more breathable, and dry quicker.
One of the most valuable tricks for prolonging the life expectancy of your footwear is applying a seam sealer to the stitching in high-wear areas. Spending $8 for a tube and 20 minutes applying it to high-wear seams doubles their lifespan. It might not look pretty, but you'll be glad you gripped 'em. Uppers commonly wear out on the seams on the inside and outside of the forefoot, where the boot flexes with each step. Regardless of the type of materials and thread used, these are weak points. Small amounts of dirt and sand work their way into these seams and act like internal sandpaper on the thread. These areas are also prone to scuffing on rock and roots. Applying Seam Grip or a similar sealer to these regions keeps out dirt and sand, increases scuff resistance, and has the added benefit of keeping water out. If you plan to abuse your footwear by surfing scree slopes or traversing rocky areas, applying a seam sealer to every visible thread on the upper is an excellent idea.
Boots get muddy and dirty, inside and out, but cleaning them of mud and sand prolongs their life. A soft bristle brush and warm water perform the trick best on the outer boot. Using the least pressure necessary, remove all visible mud, dirt, and debris. Do your best to let wet boots dry slowly, out of direct sunlight.
Also, be sure to remove your insoles and clean them, and when you're on the trail, always take them out at the end of the day or even each time you take your footwear off during the day. Shake any debris from the inside of the boot, and remove anything that's stuck to the bottom of your insole. Warm water and a soft brush are the best ways to clean your insoles. Resist the urge to put shoes or boots in the washing machine, and never put them in the clothes dryer. Insoles that are super funky benefit from a gentle cycle in the washer, but let them air dry. At this point, it is often best to replace the insole with a new one.
And a final note: boots and extreme heat do not mix. We're all guilty of drying them by the campfire from time to time, but the soles melt off if you're not careful. Additionally, leather that dries too fast becomes hard and brittle. If you feel you have to, do not place your boots any closer to the fire than where your bare hand is comfortable for the same amount of time. It's much better to hike another day in damp footwear than to hike another day in a half-melted boot duct-taped to your foot. We know; we've learned the hard way! The trunk or back seat of your car is also a danger zone for boots when it's hot and sunny out. The temperatures in the midday sun can cause the soles to delaminate from the uppers. Footwear thrown into plastic totes in the back of a truck suffers the same sad fate.
Key Accessories
Gaiters - Gaiters are a wonderful way to prevent debris from getting in your boots and causing discomfort or even blisters.
Insoles - Insoles are essential to help give the proper arch support needed for a long time spent on your feet. They can also take up or free up space if the fit is slightly tighter or looser than you would like. The Superfeet Hike Support insoles are an example of a comfortable aftermarket insole and can help with the foot ache at the end of a long day of hiking.
